CS 180
Image Mosaics
By Evan Chang · CS 180 Project 4
Introduction
In this project, I explored creating image mosaics using homographies, warping, and multi-resolution blending.
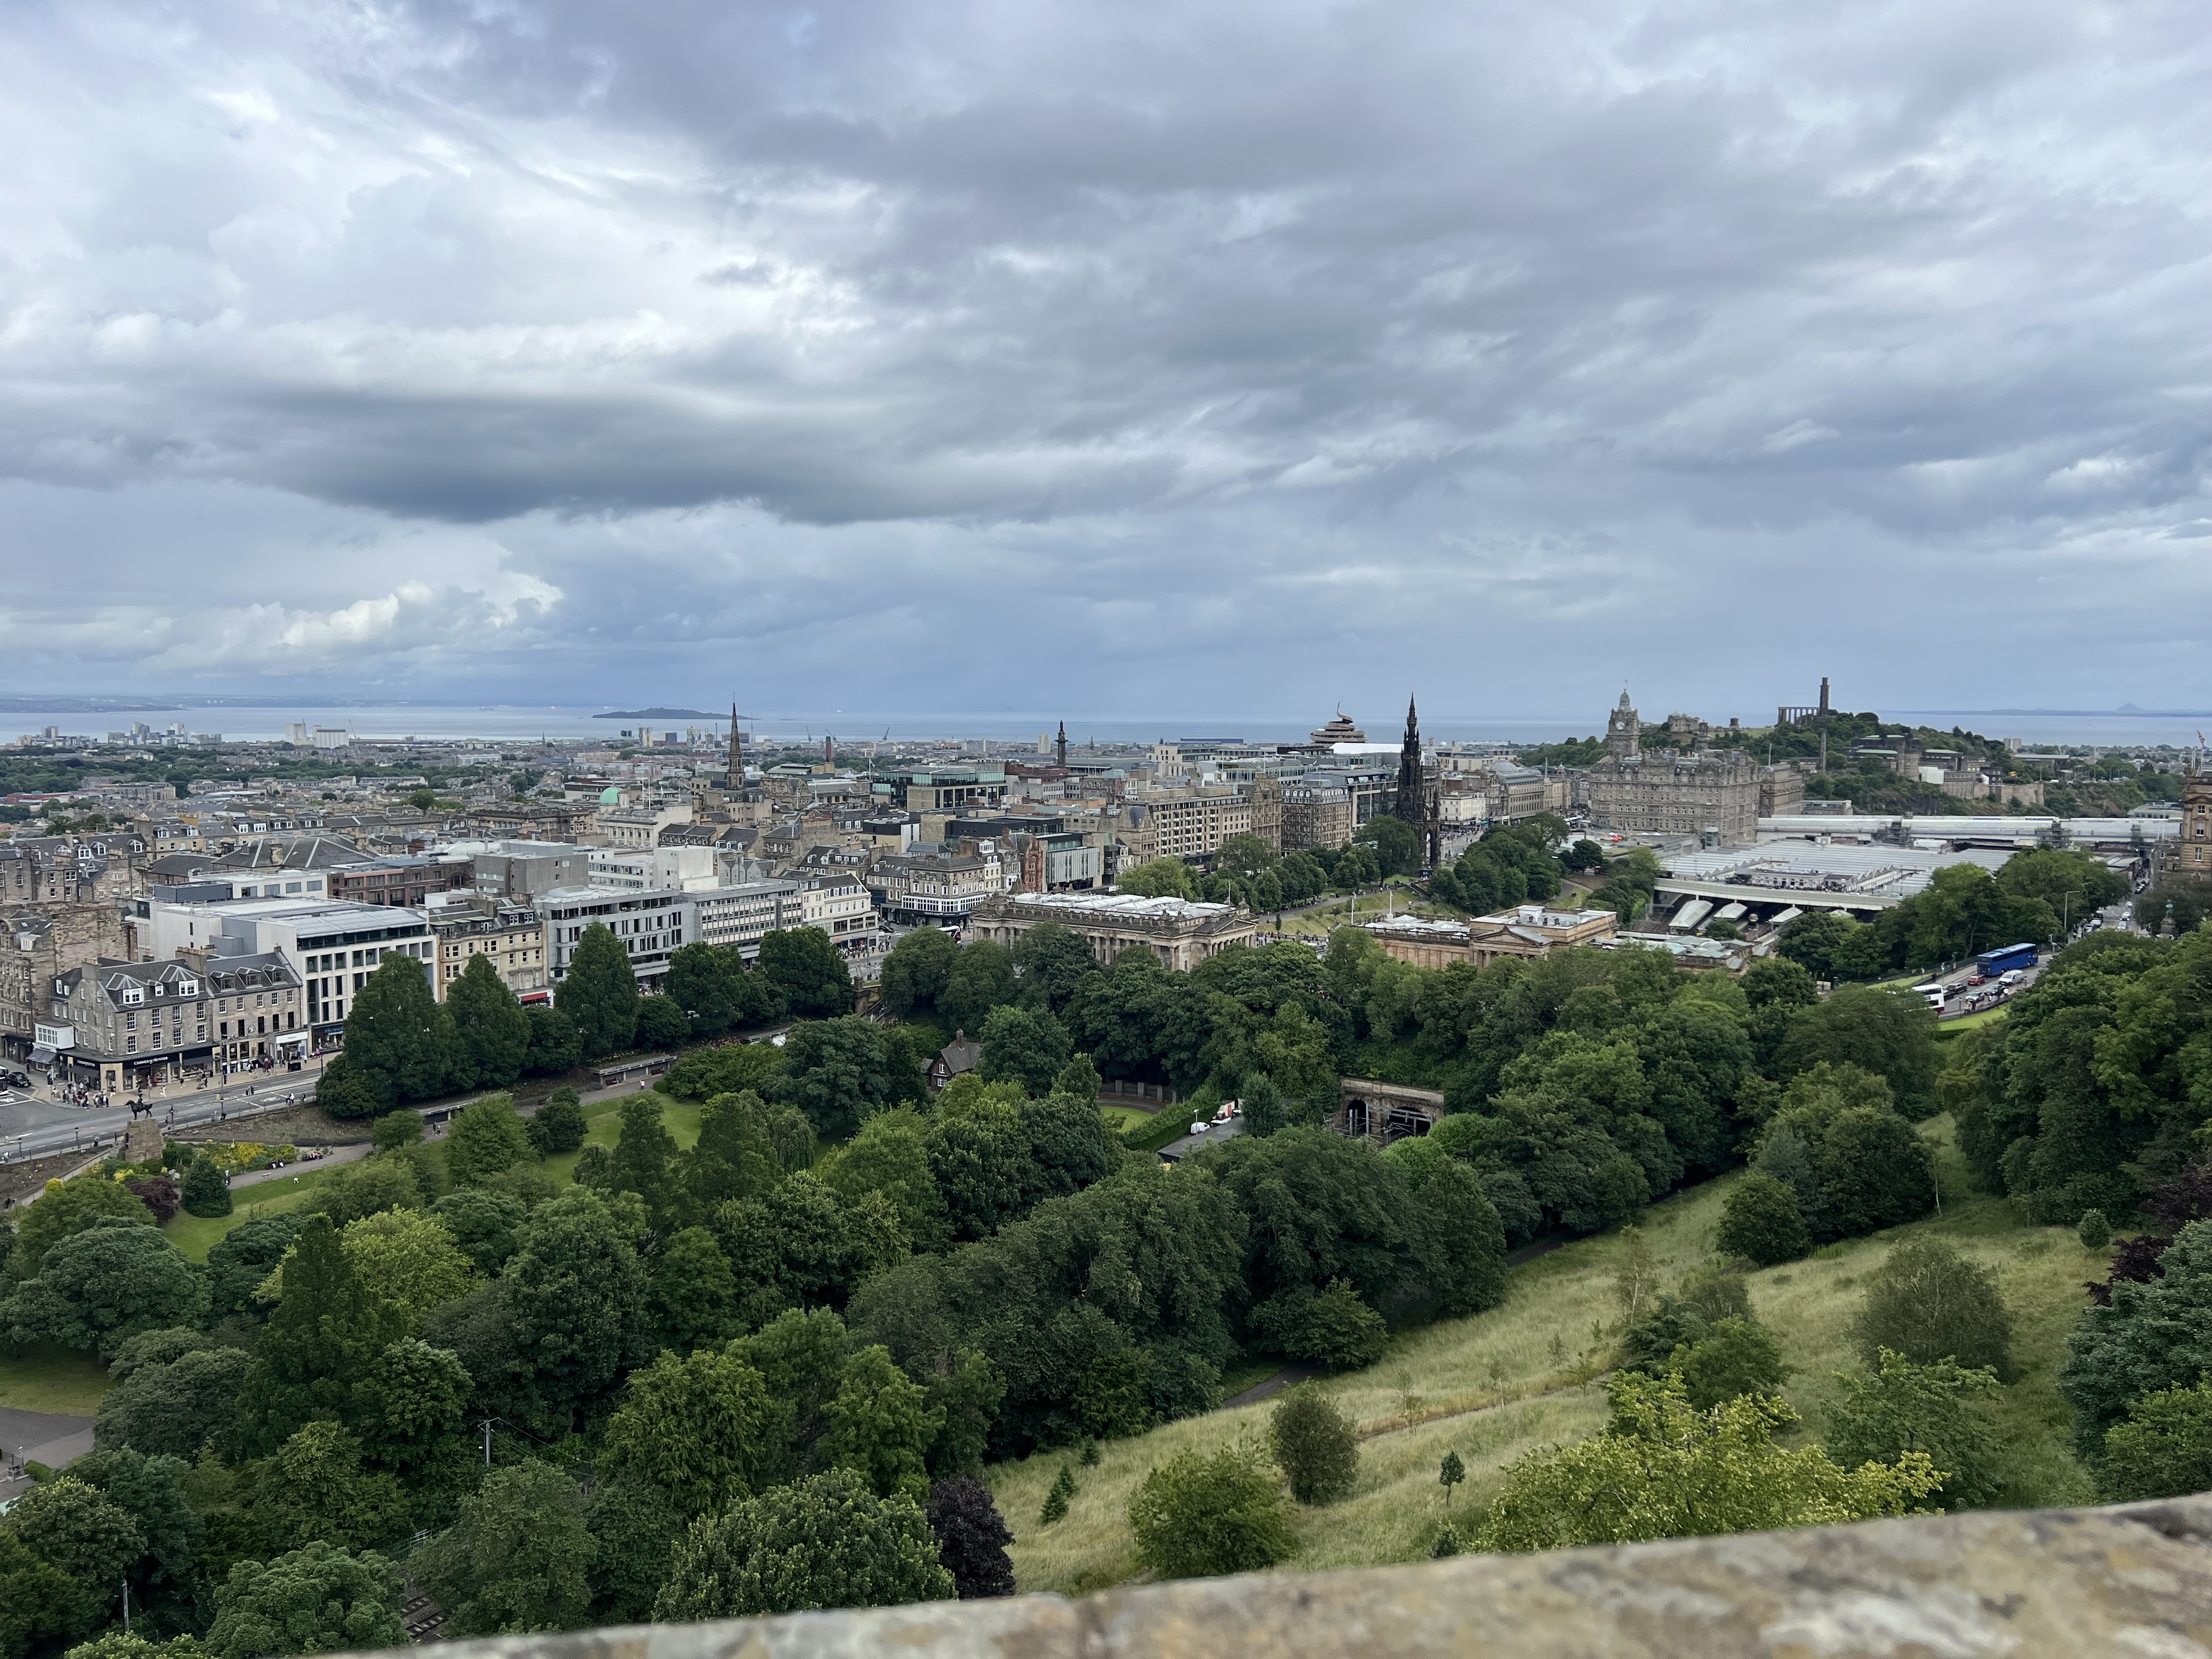
All mosaics used photos I took while trying to preserve the center of projection so homography warping would work well. I mostly used landscape scenes with minimal motion and captured three-image sets that could be stitched left-to-right.
Image Warping and Mosaicing
Recovering Homographies
After taking the photos, I manually marked correspondences between views and corners that defined the warped region.
Using correspondence pairs, I recovered a homography satisfying \(p’ = Hp\), where \(H\) has 8 degrees of freedom. Since each point pair gives two equations, at least 4 pairs are needed; more pairs allow a least-squares estimate.
\[ H = \begin{bmatrix} a & b & c \\ d & e & f \\ g & h & 1 \end{bmatrix} \]
Setting up the linear system gives:
Image Warping and Rectification
With a homography between correspondence sets, I warped images to new perspectives. I forward-warped region corners and inverse-warped pixels inside that region. For interpolation, I used scipy.interpolate.RegularGridInterpolator.
A useful test was image rectification: selecting a rectangular region in the source and warping it to a fronto-parallel rectangle.


The same warping pipeline can place images into a shared perspective for mosaics.
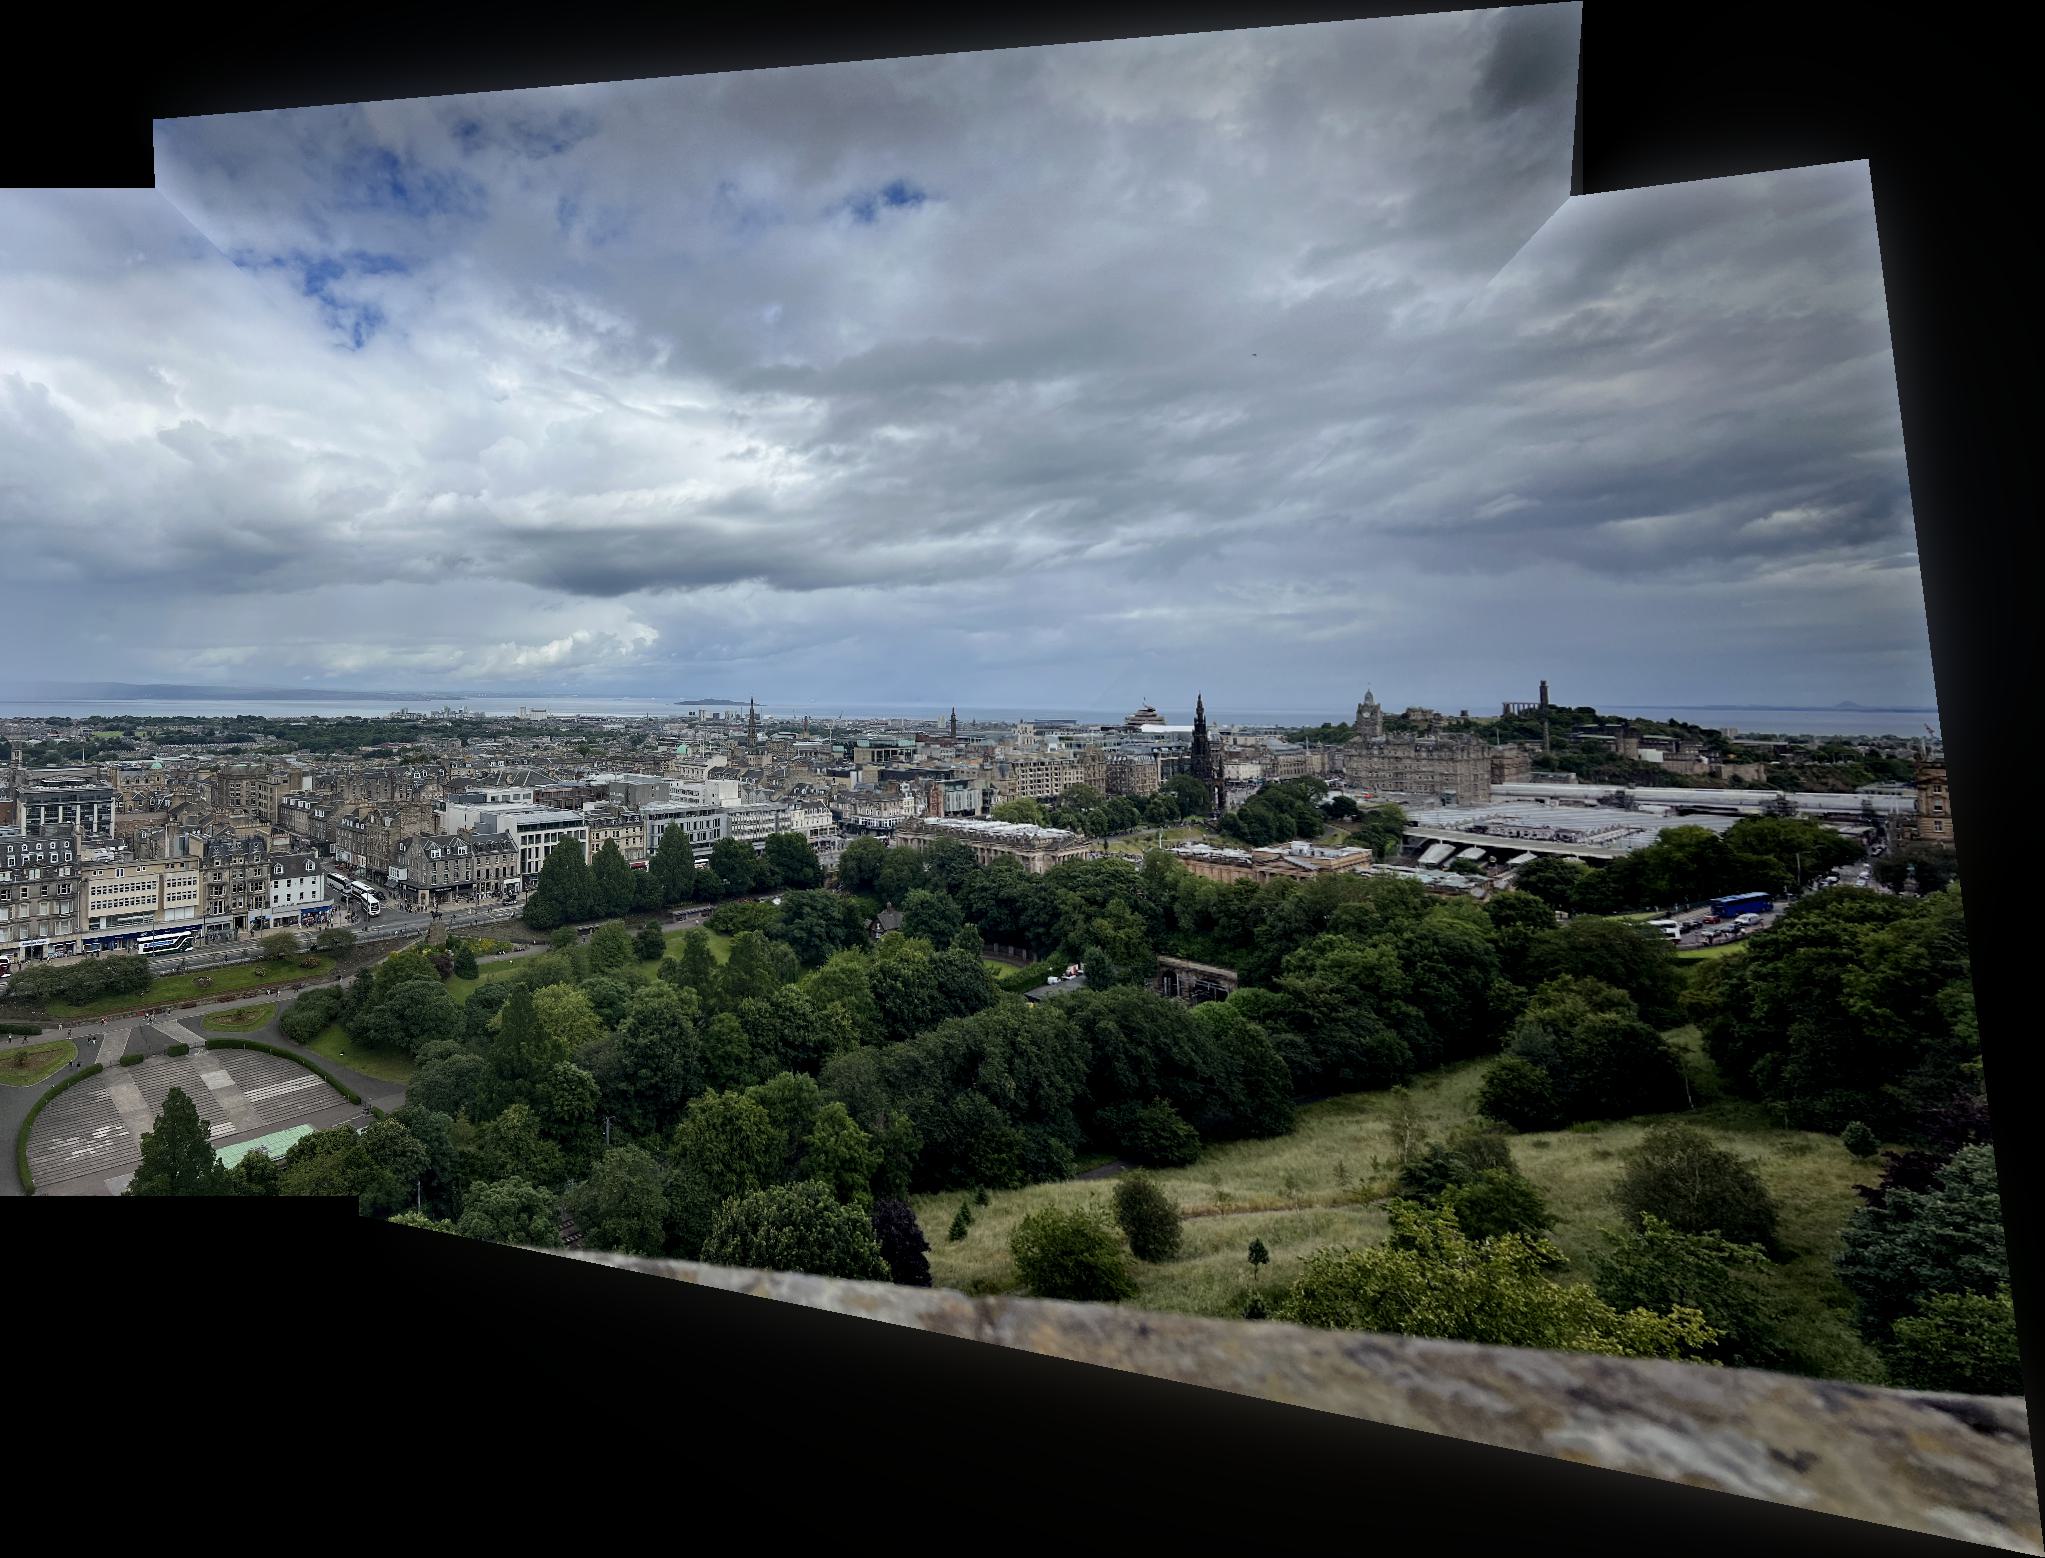
Image Mosaics
To create mosaics, I warped all images to one designated middle-image perspective, aligned by middle-image correspondences, and allocated enough canvas space for all warped images.
I then used binary masks with distance transforms (Euclidean) to construct blending weights. Intuitively, distance to the mask edge acts like pixel confidence toward the image interior.
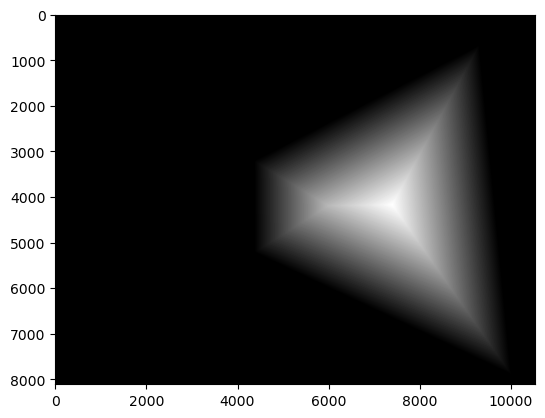
Using these transforms, I built a final blending mask and combined warped images with Laplacian-stack blending.
In practice, larger camera rotation between shots caused visible warping and made edge blending harder. Very large source images also caused notebook memory issues before resizing.
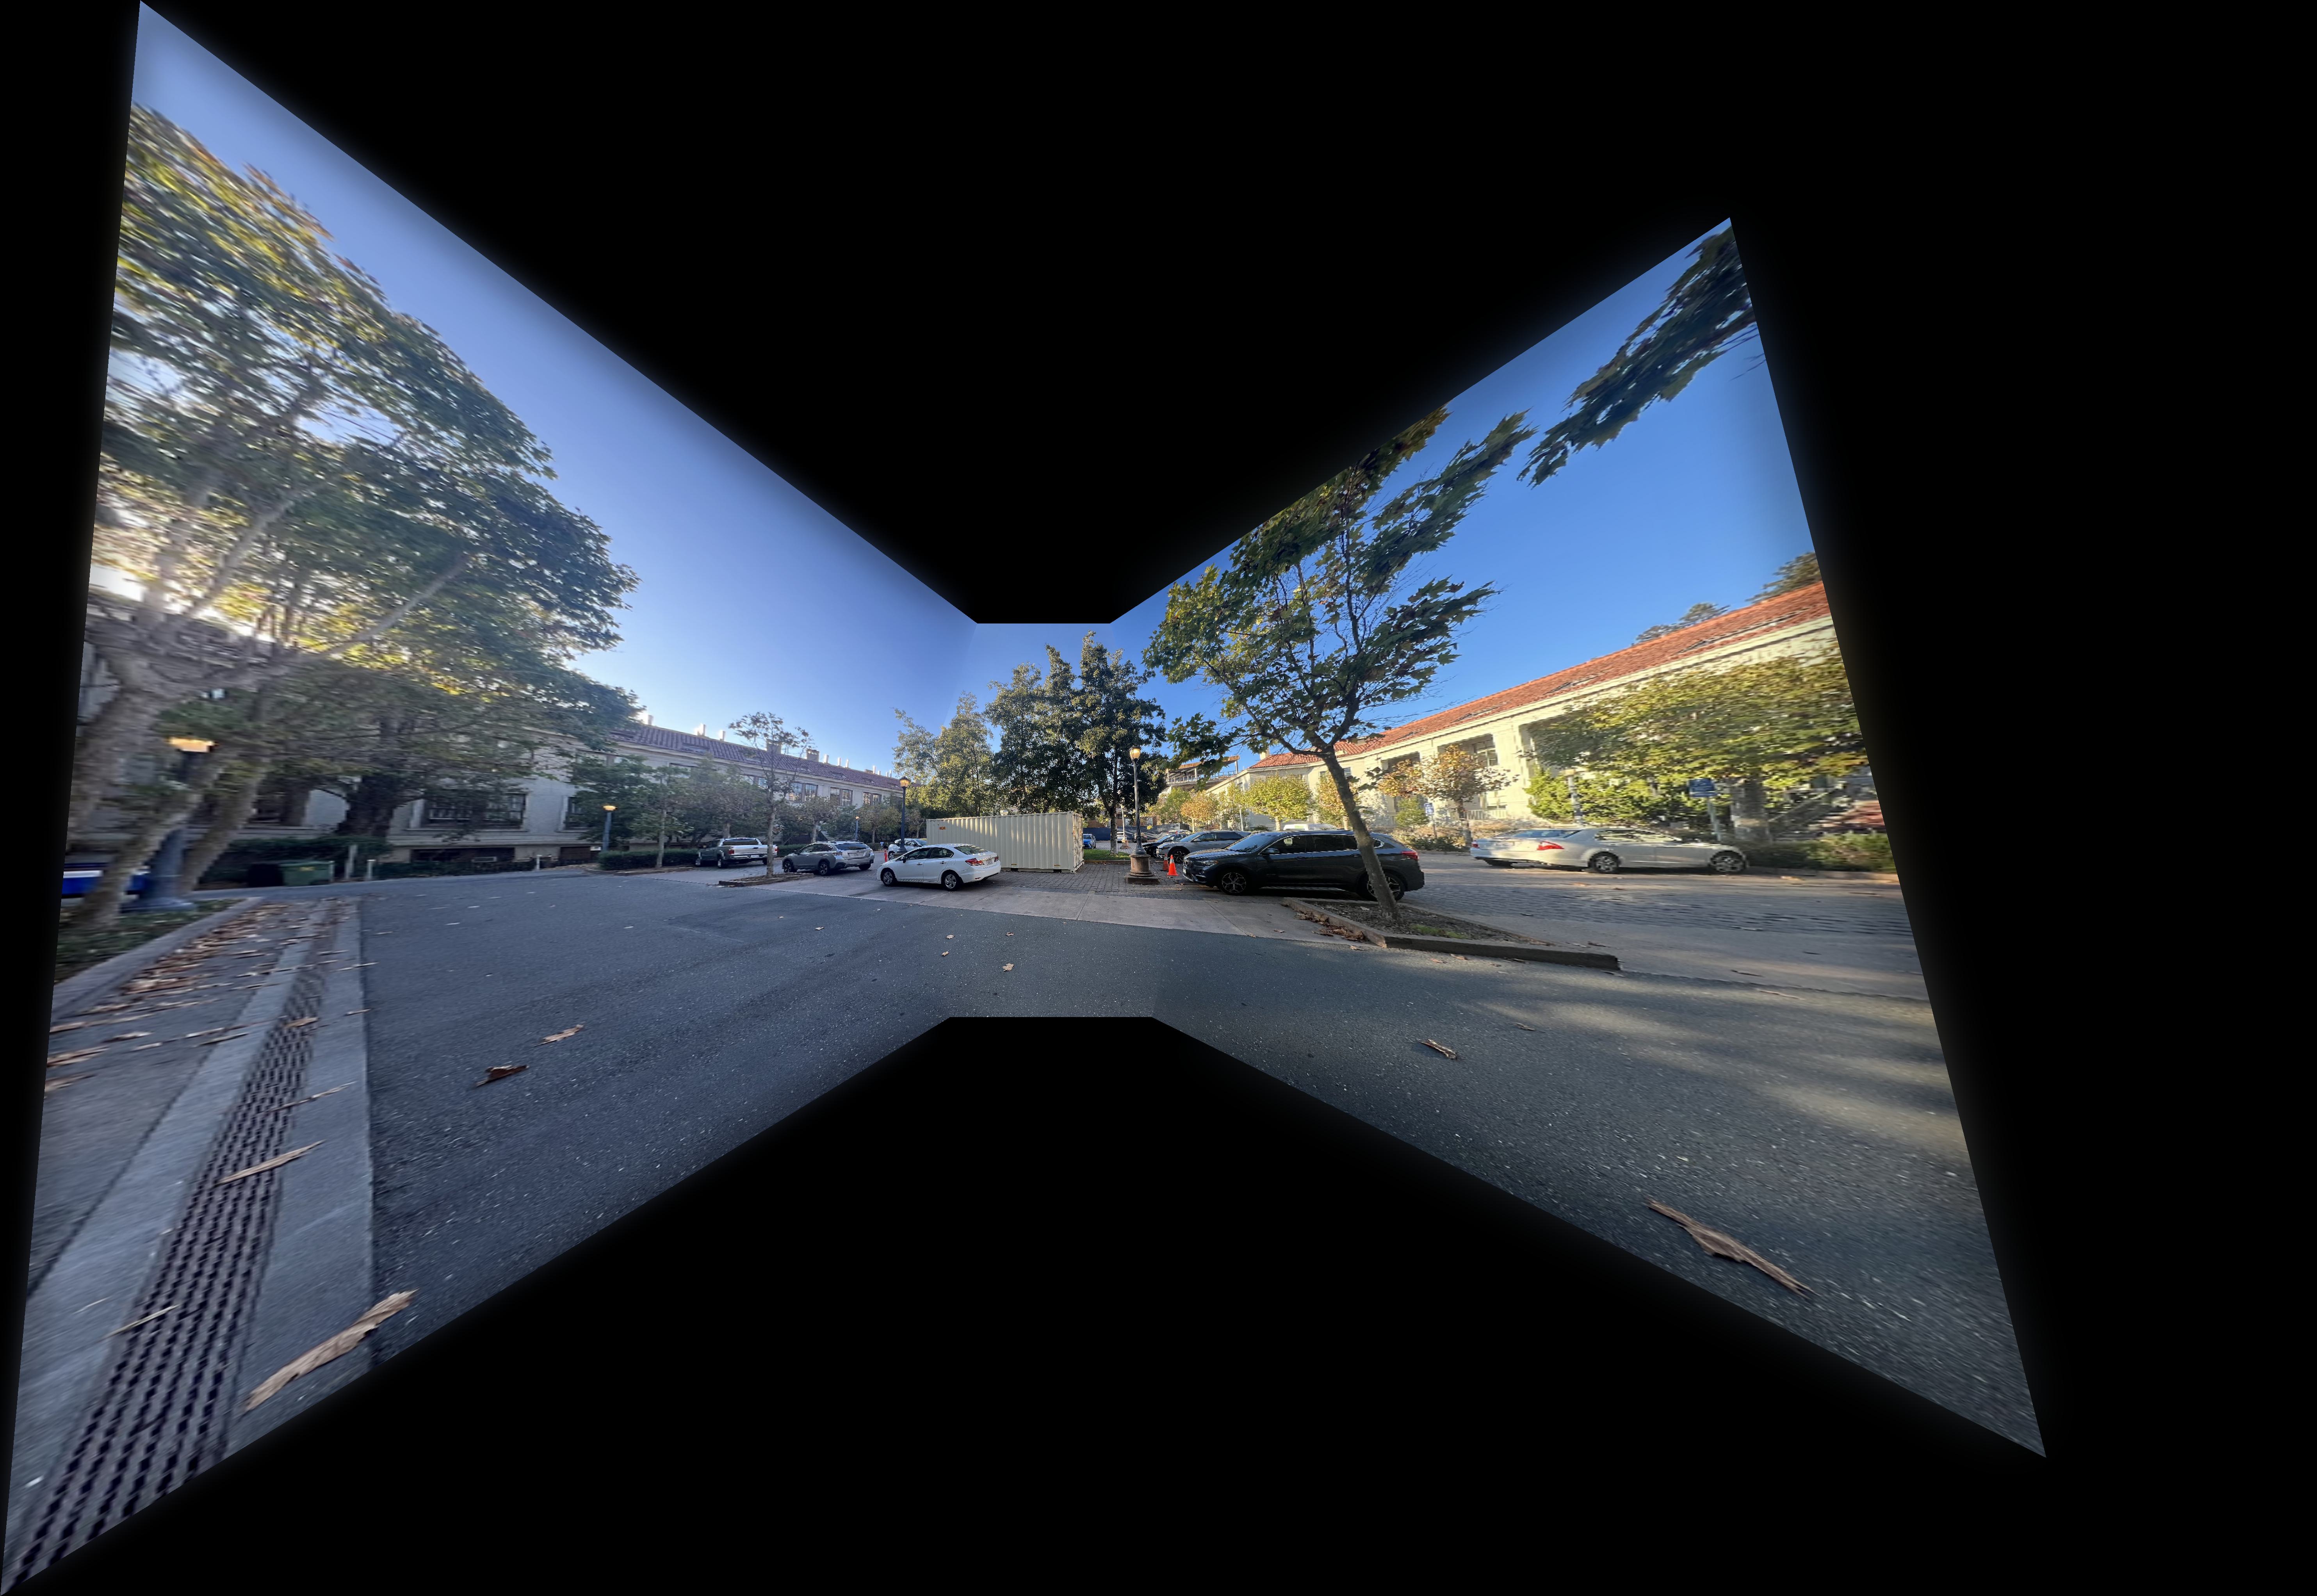
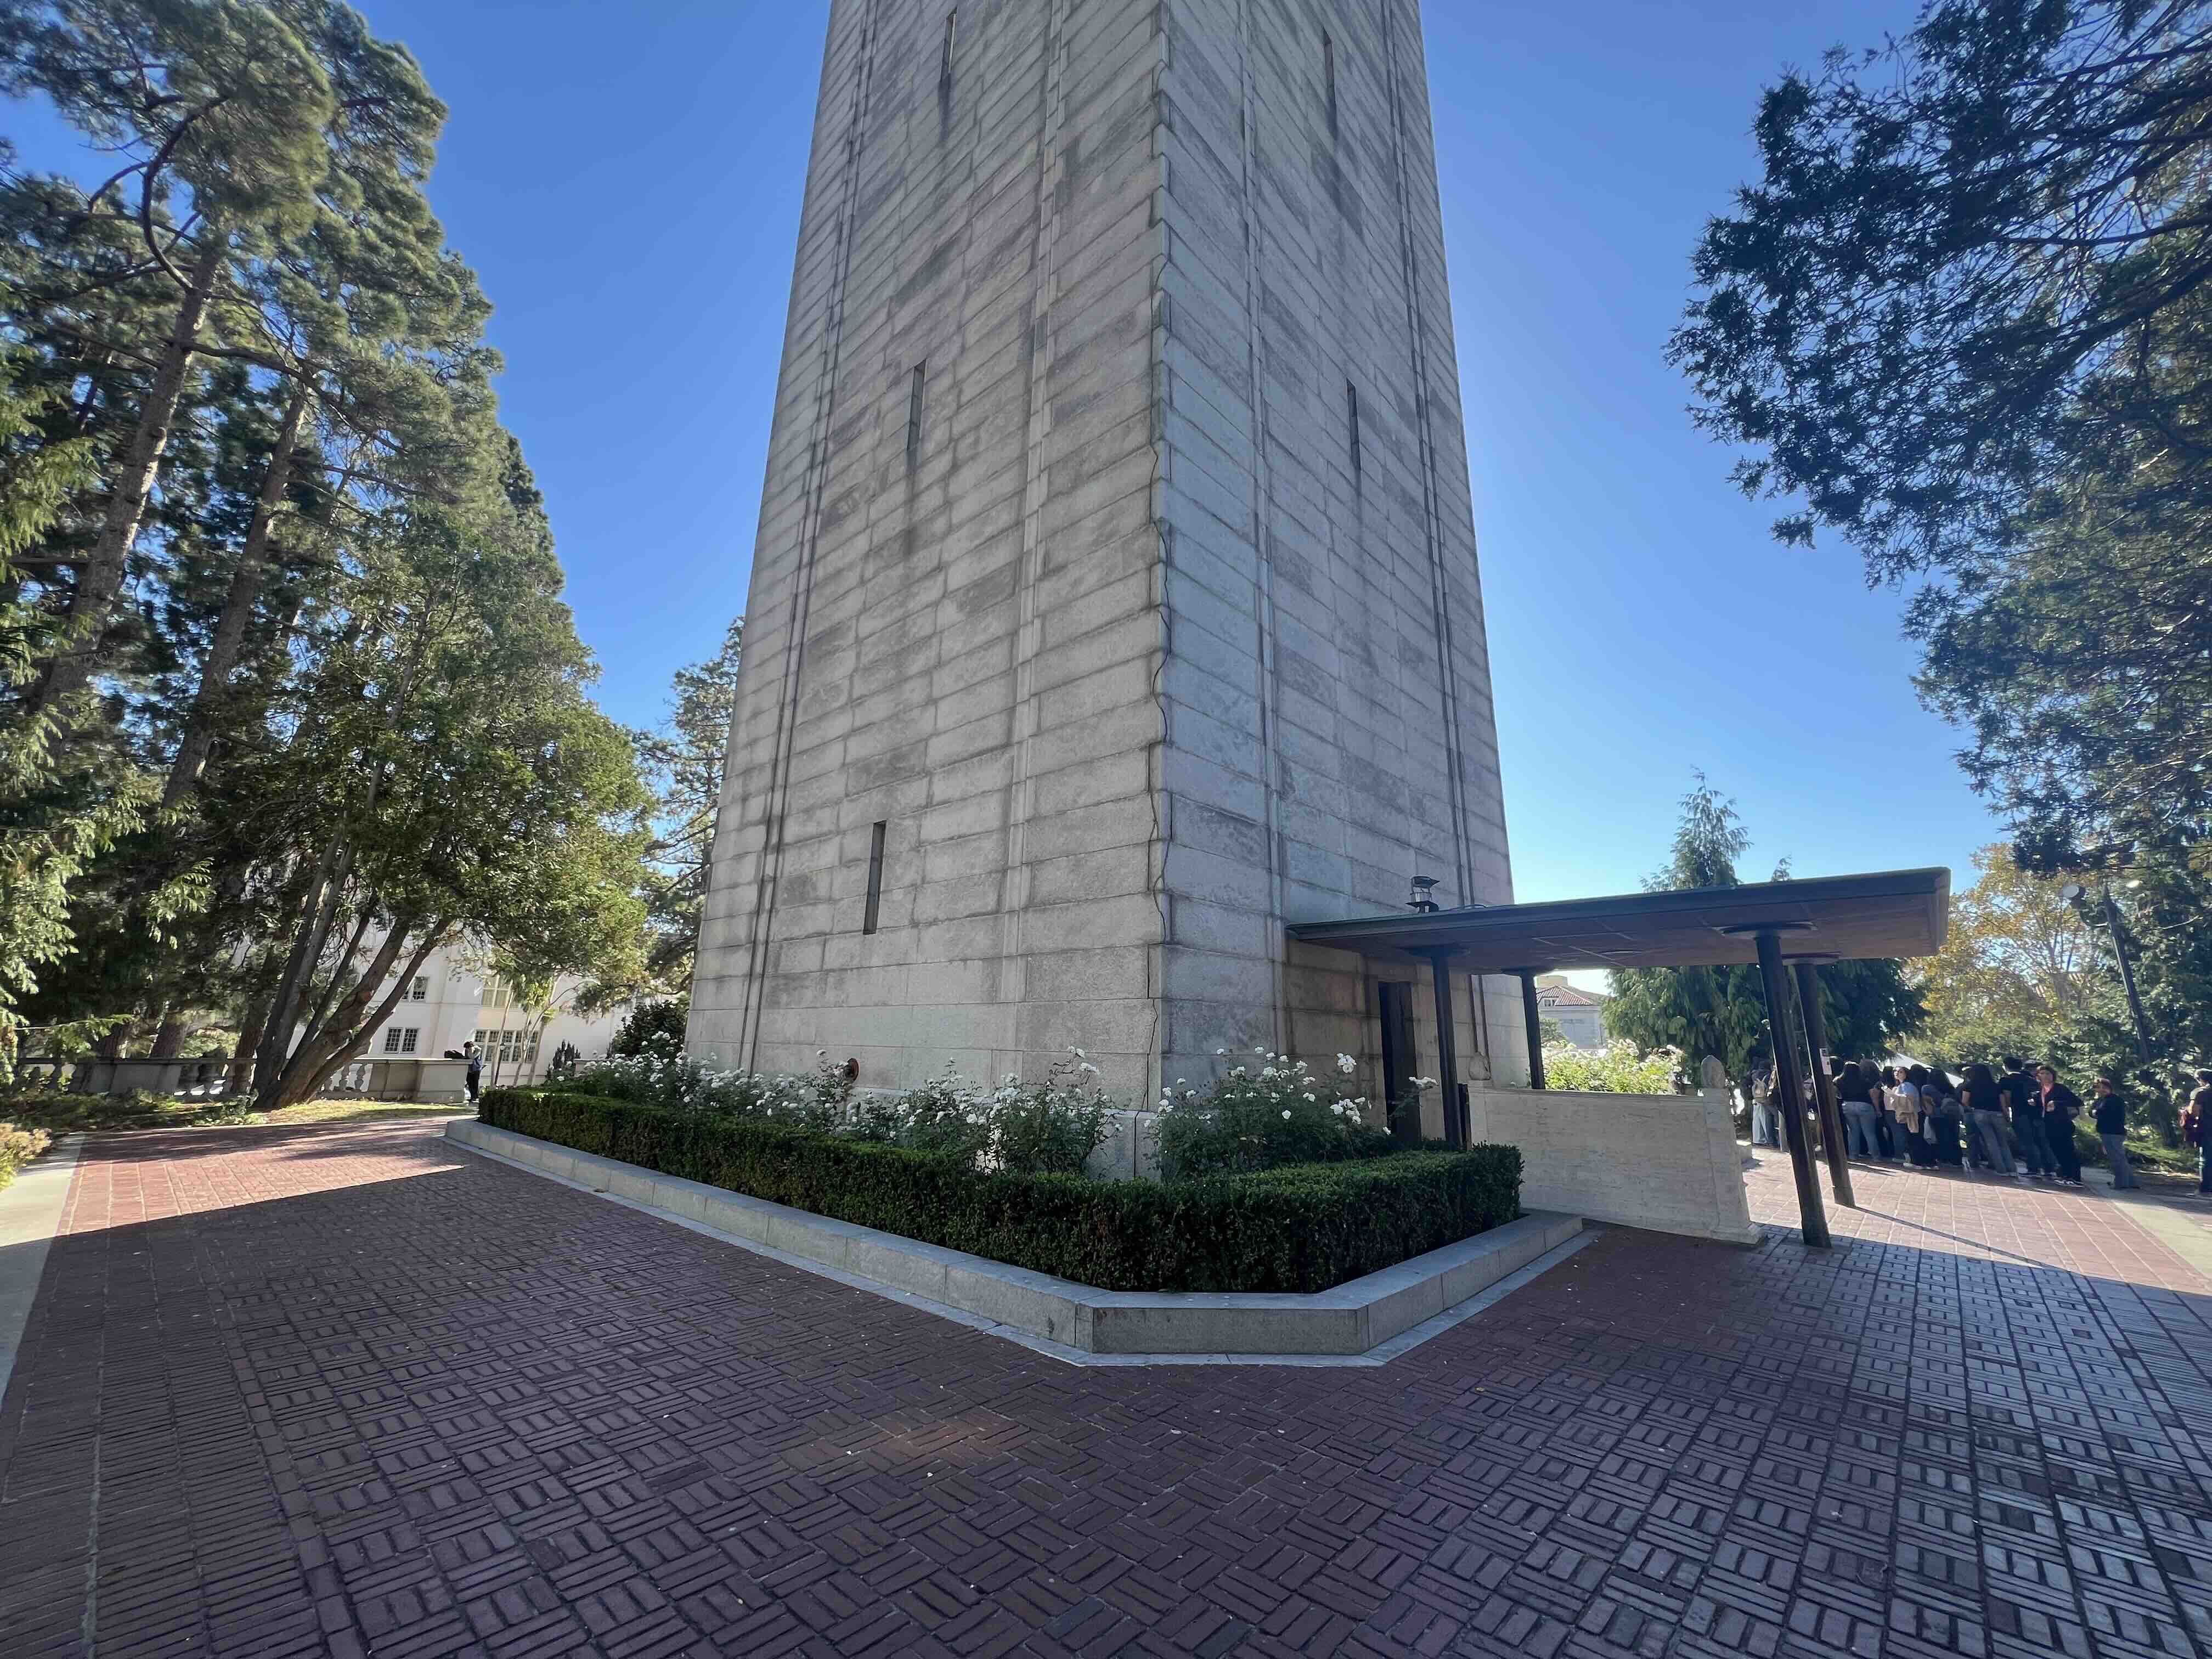
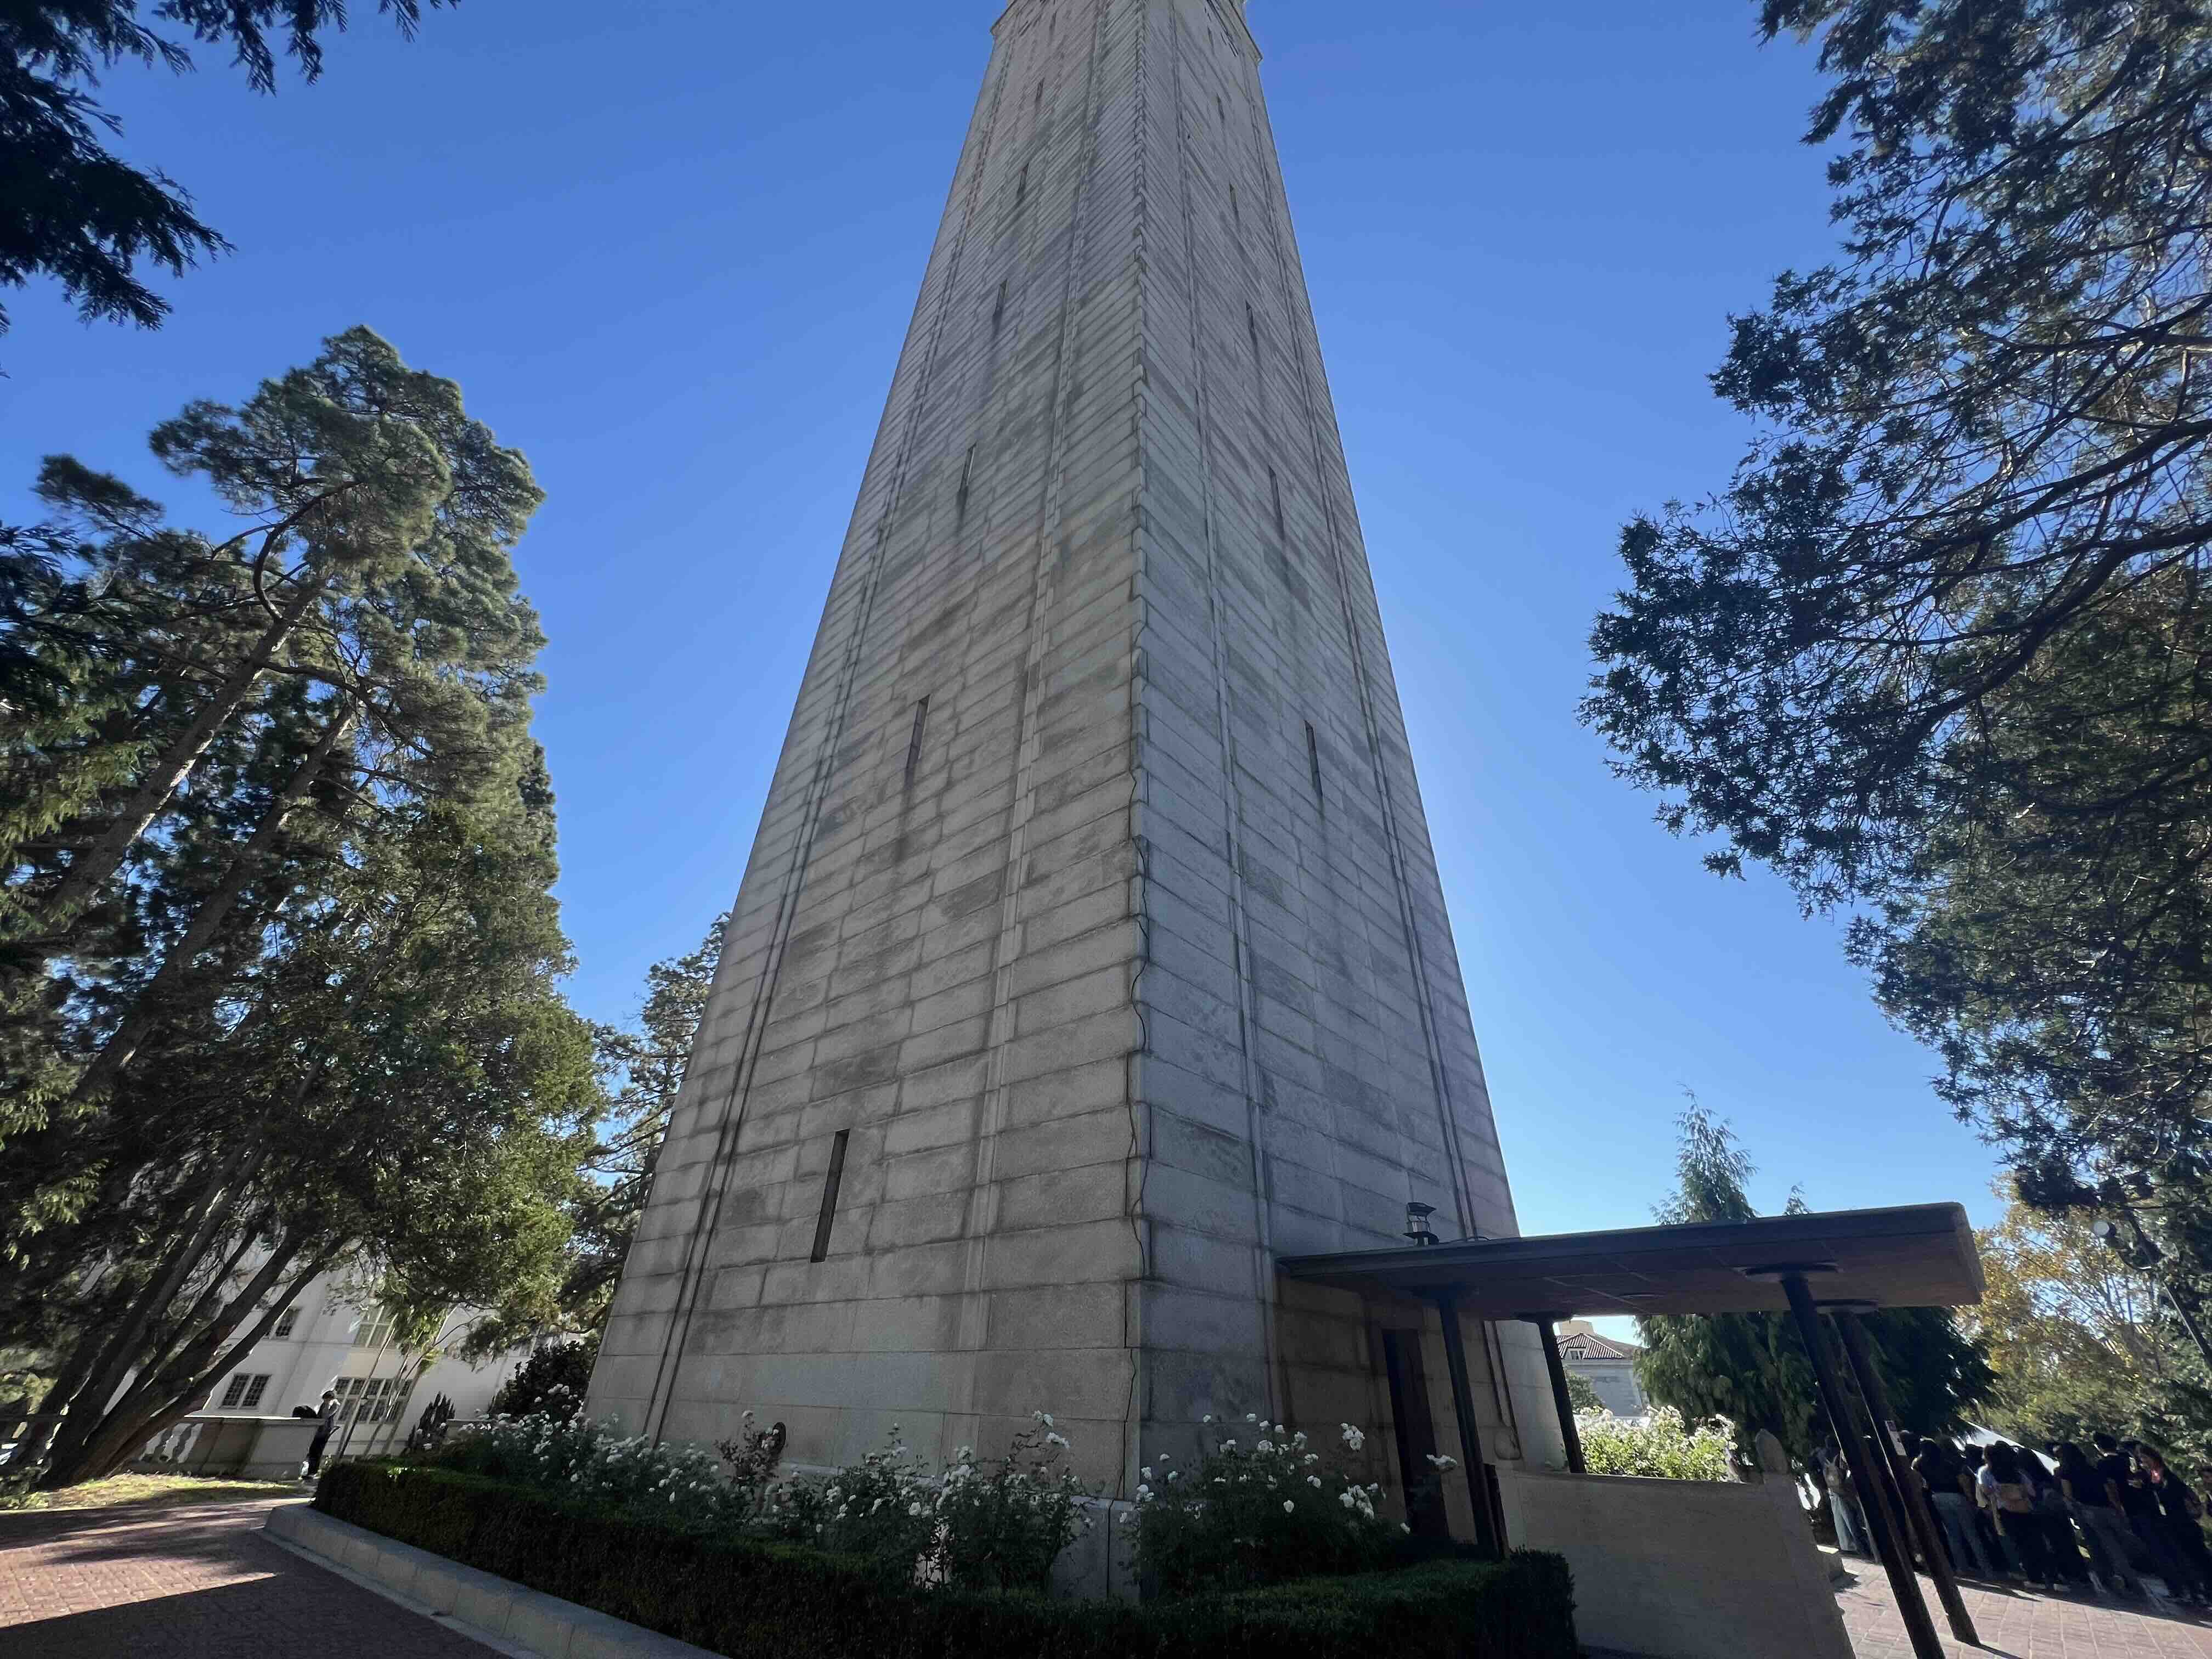
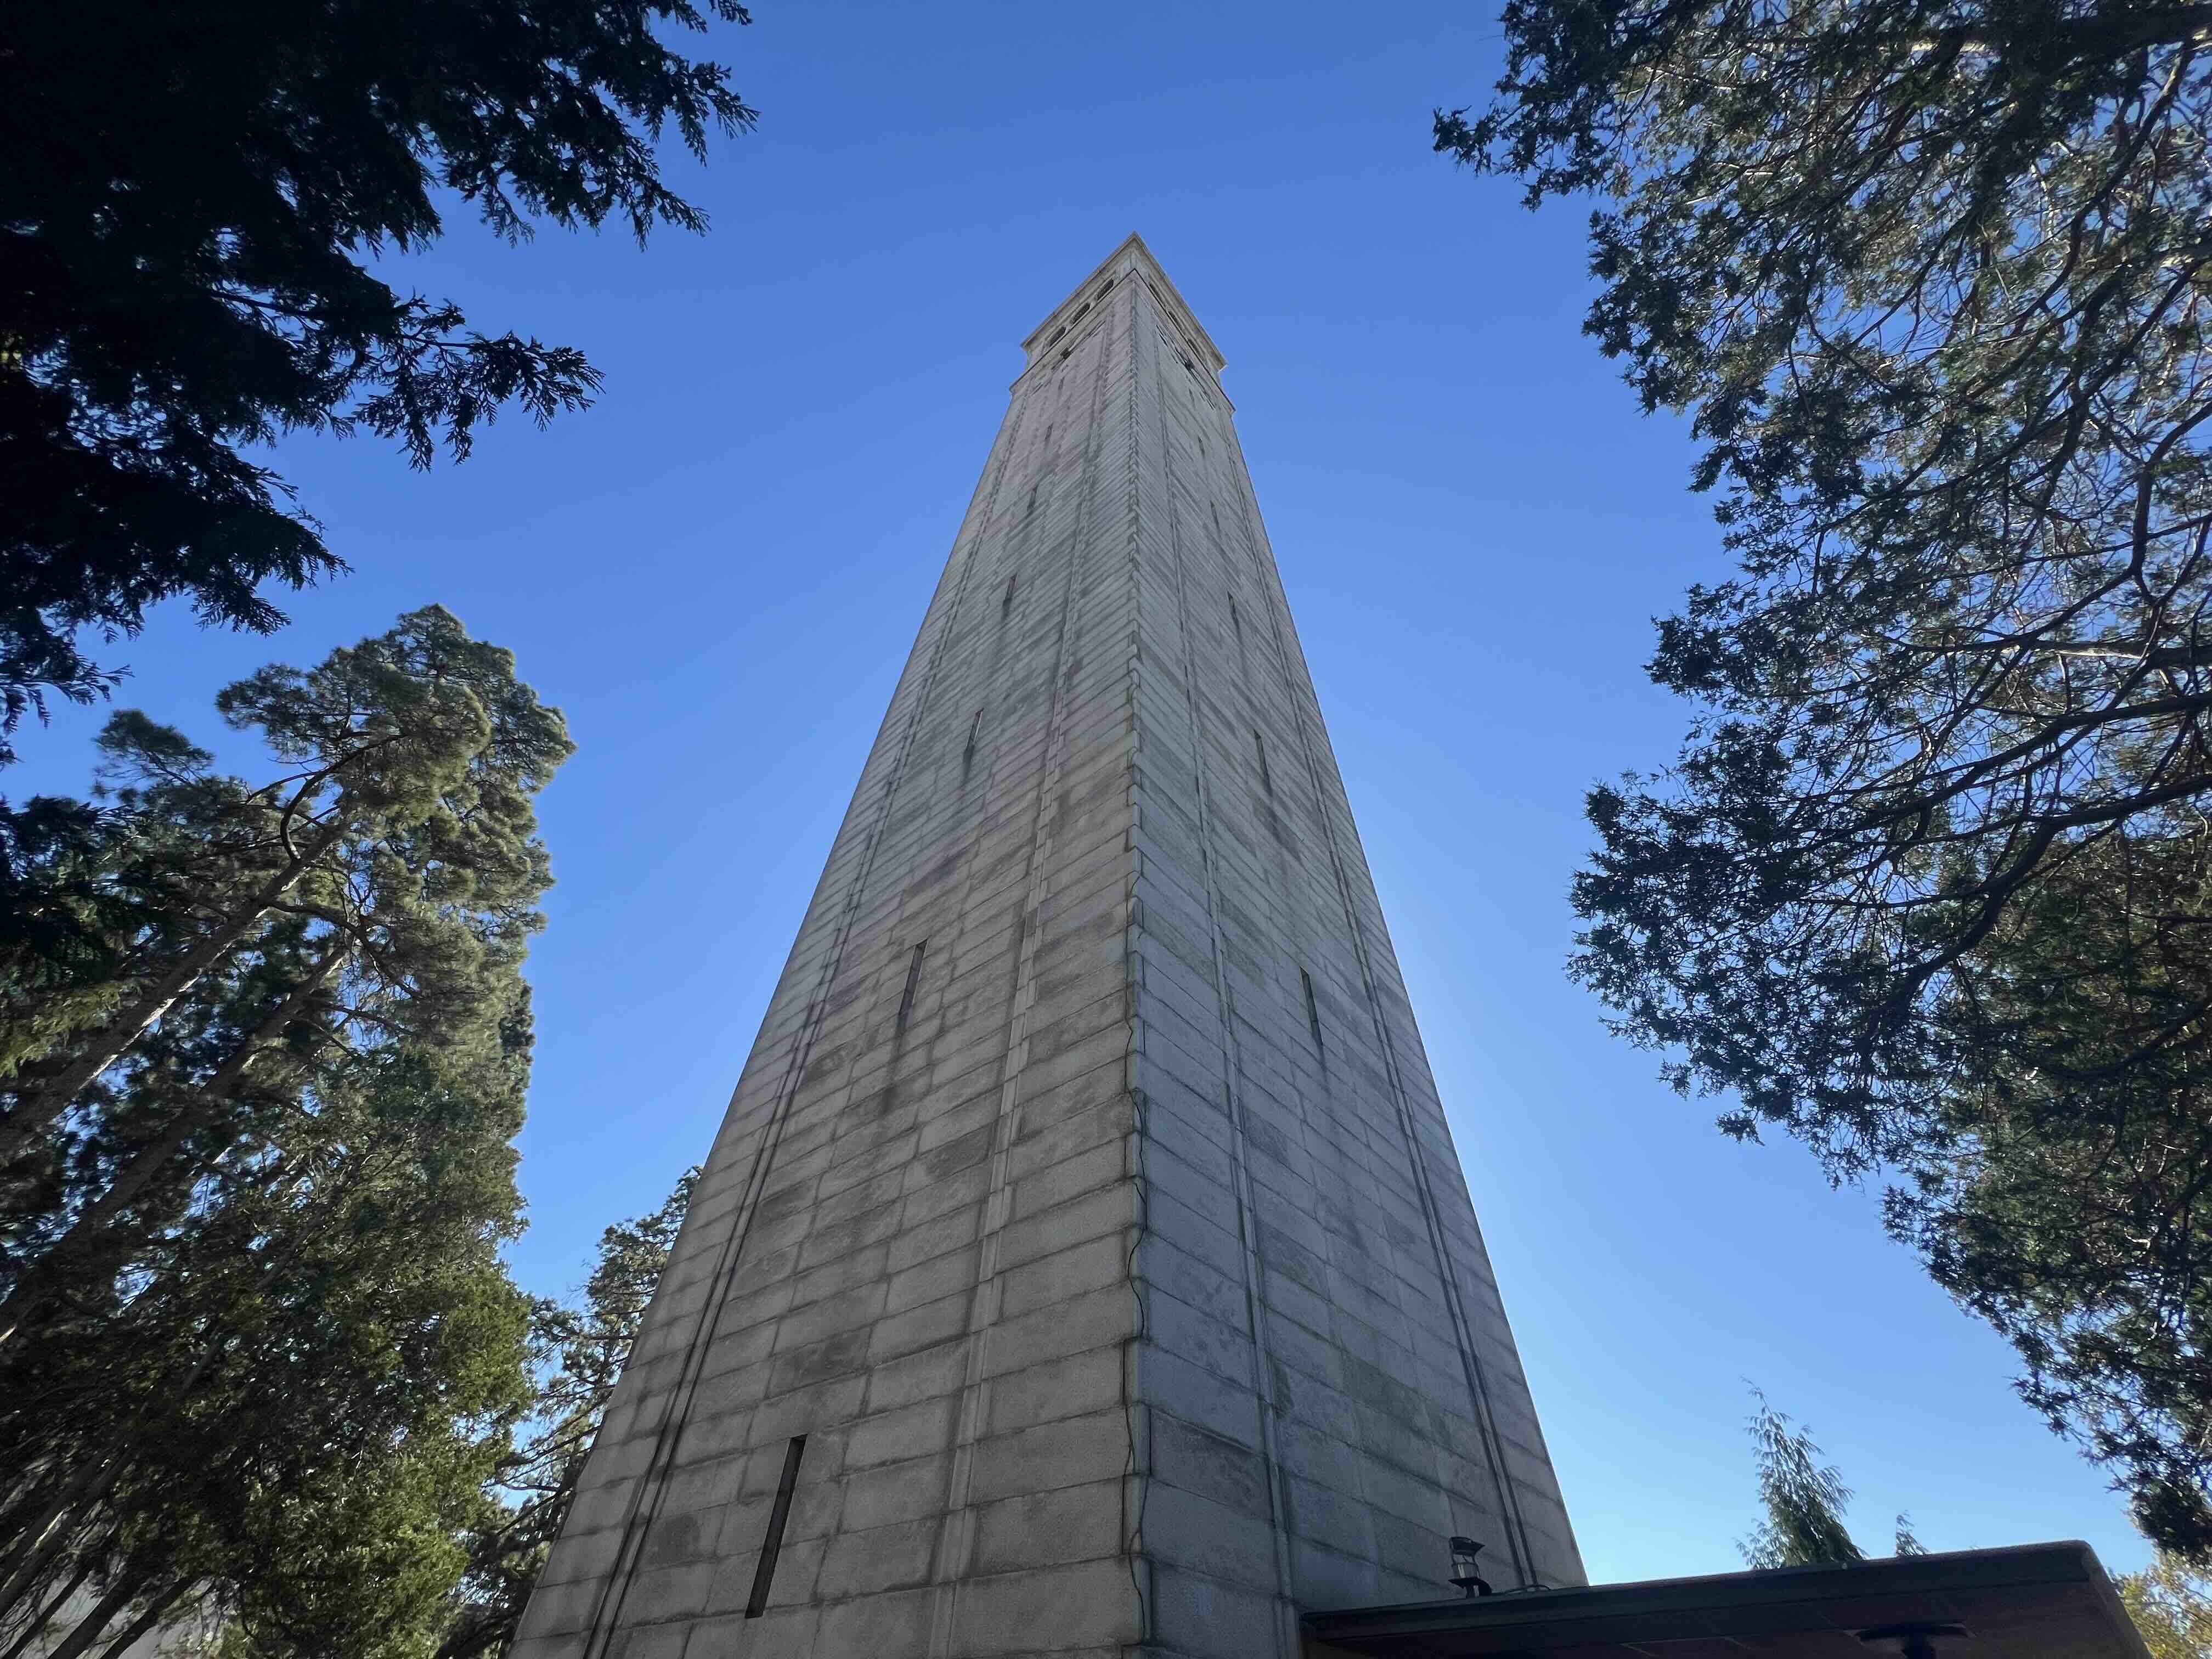
Image Mosaic Results

Feature Matching for Autostitching
To automate mosaicing, I implemented a feature-based pipeline inspired by Brown et al. (Multi-Image Matching using Multi-Scale Oriented Patches).
Harris Interest Point Detector
First, I detected candidate correspondence points (“corners”) with high gradient variation in multiple directions.
I used the Harris response:
\[ R = \frac{\det(M)}{\text{trace}(M)} \]
where \(M\) is the second-moment matrix from image gradients.
Adaptive Non-Maximal Suppression
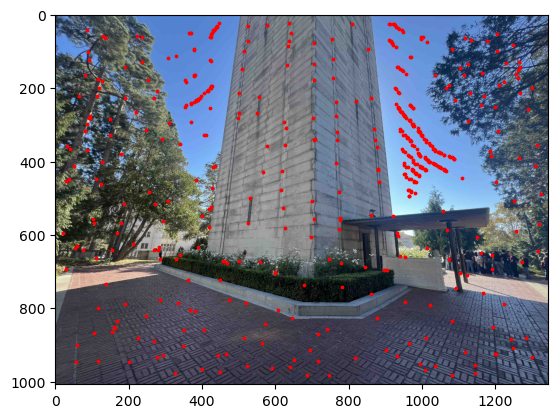
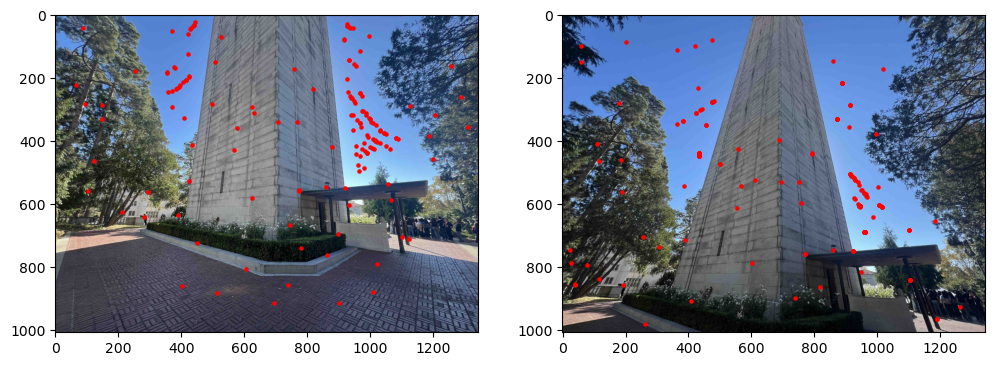
Raw Harris corners are dense and unevenly distributed. To improve coverage, I used Adaptive Non-Maximal Suppression (ANMS), selecting the strongest and spatially distributed points (top 500 in my implementation).
Extracting Feature Descriptors
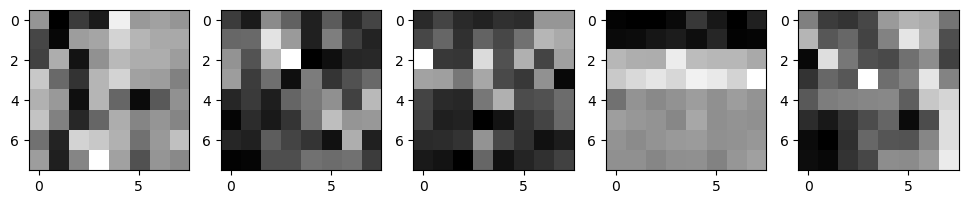
I extracted descriptors with a MOPS-like method: take a 40x40 patch around each interest point, downsample to 8x8, then normalize to zero mean and unit variance.
I did not include rotation invariance from the original paper.
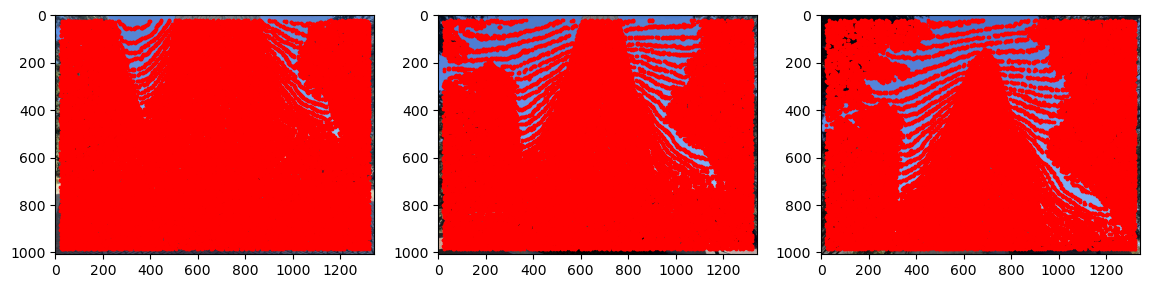
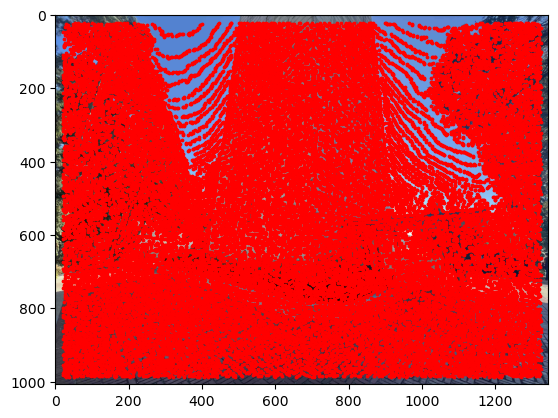
Feature Matching
I matched descriptor vectors between images using a ratio test: compare 1-NN error to 2-NN error, and accept only matches below a threshold ratio.
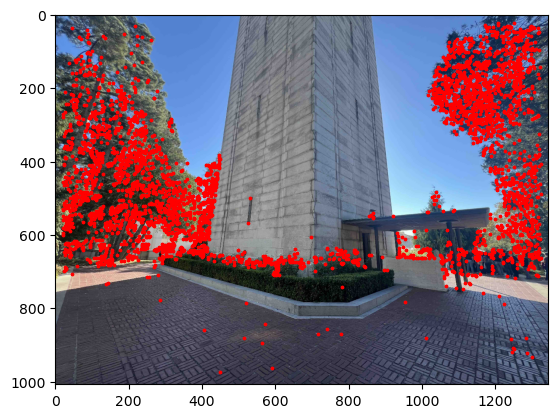
RANSAC
Finally, I used RANSAC to reject outliers. Each iteration samples 4 matches, estimates a homography, counts inliers, and keeps the model with the best support.
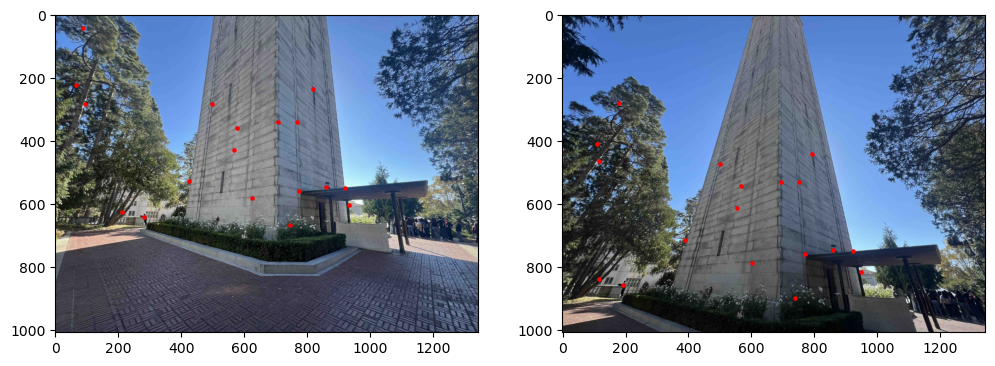
RANSAC significantly reduced matches to robust inliers.
Results
Using automatically estimated correspondences, I generated mosaics similarly to the manual pipeline.
For this example, automatic correspondences performed roughly as well as manual correspondences while being much faster and less tedious.
More Results
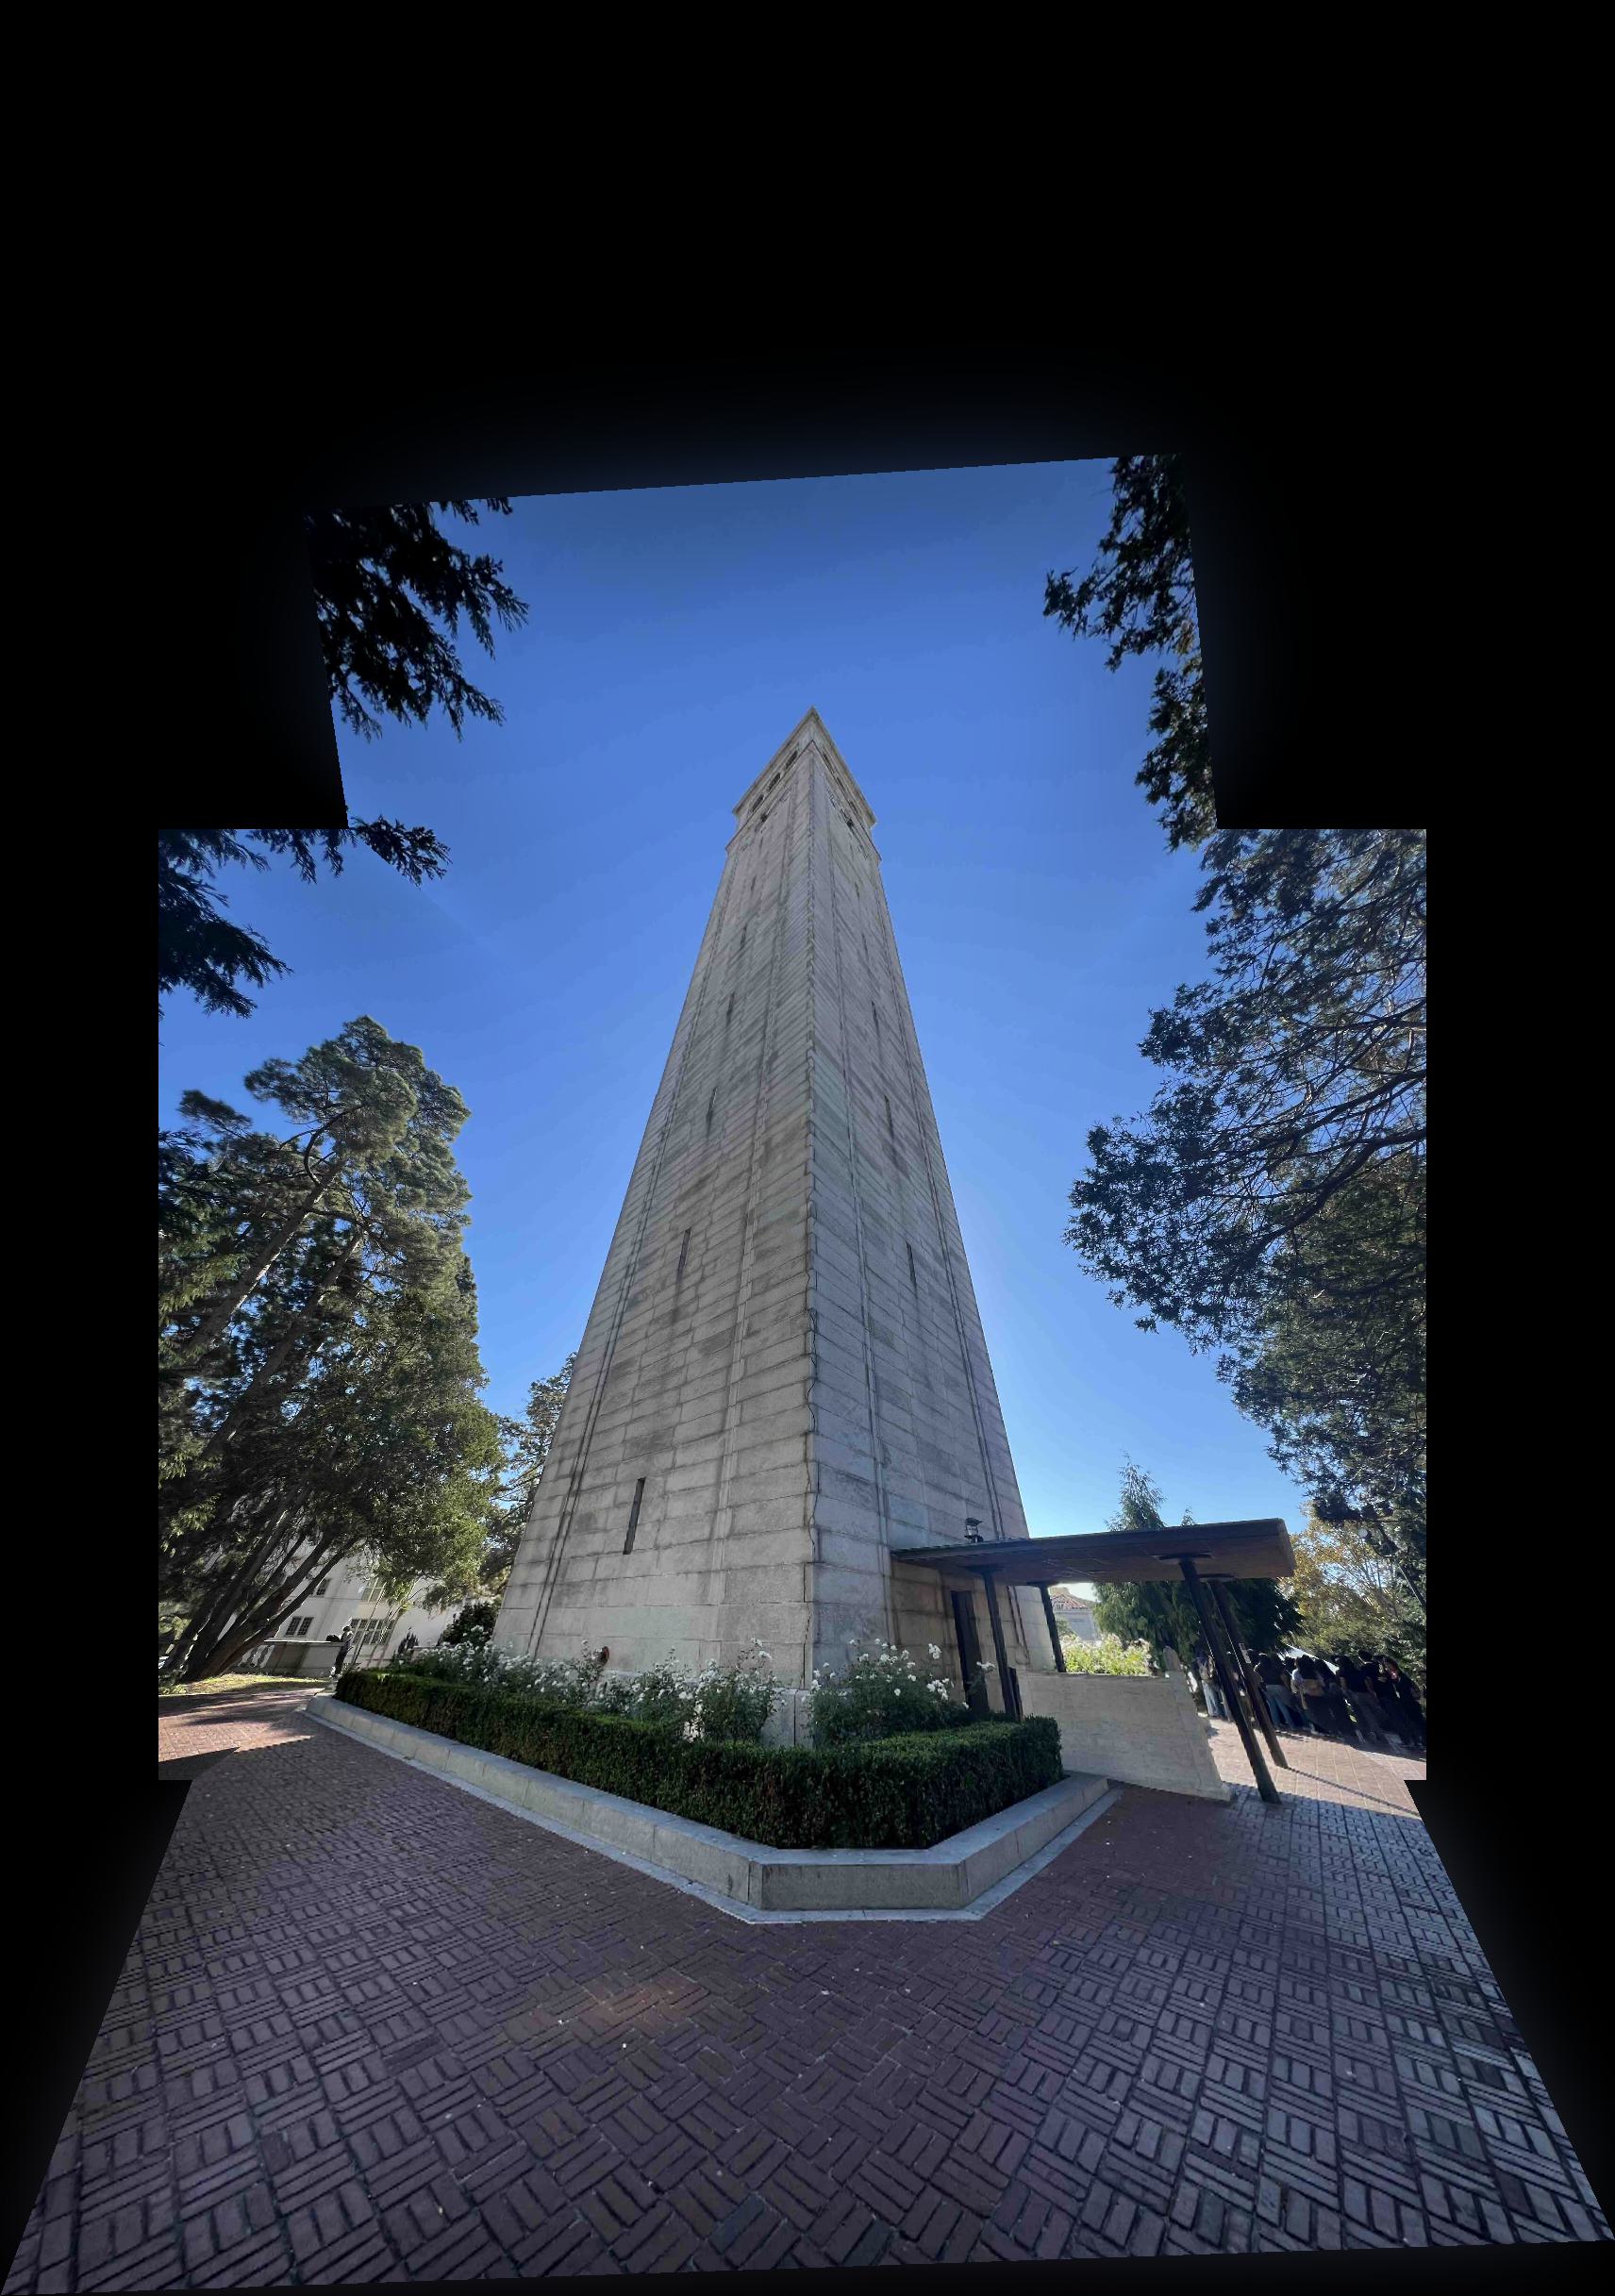
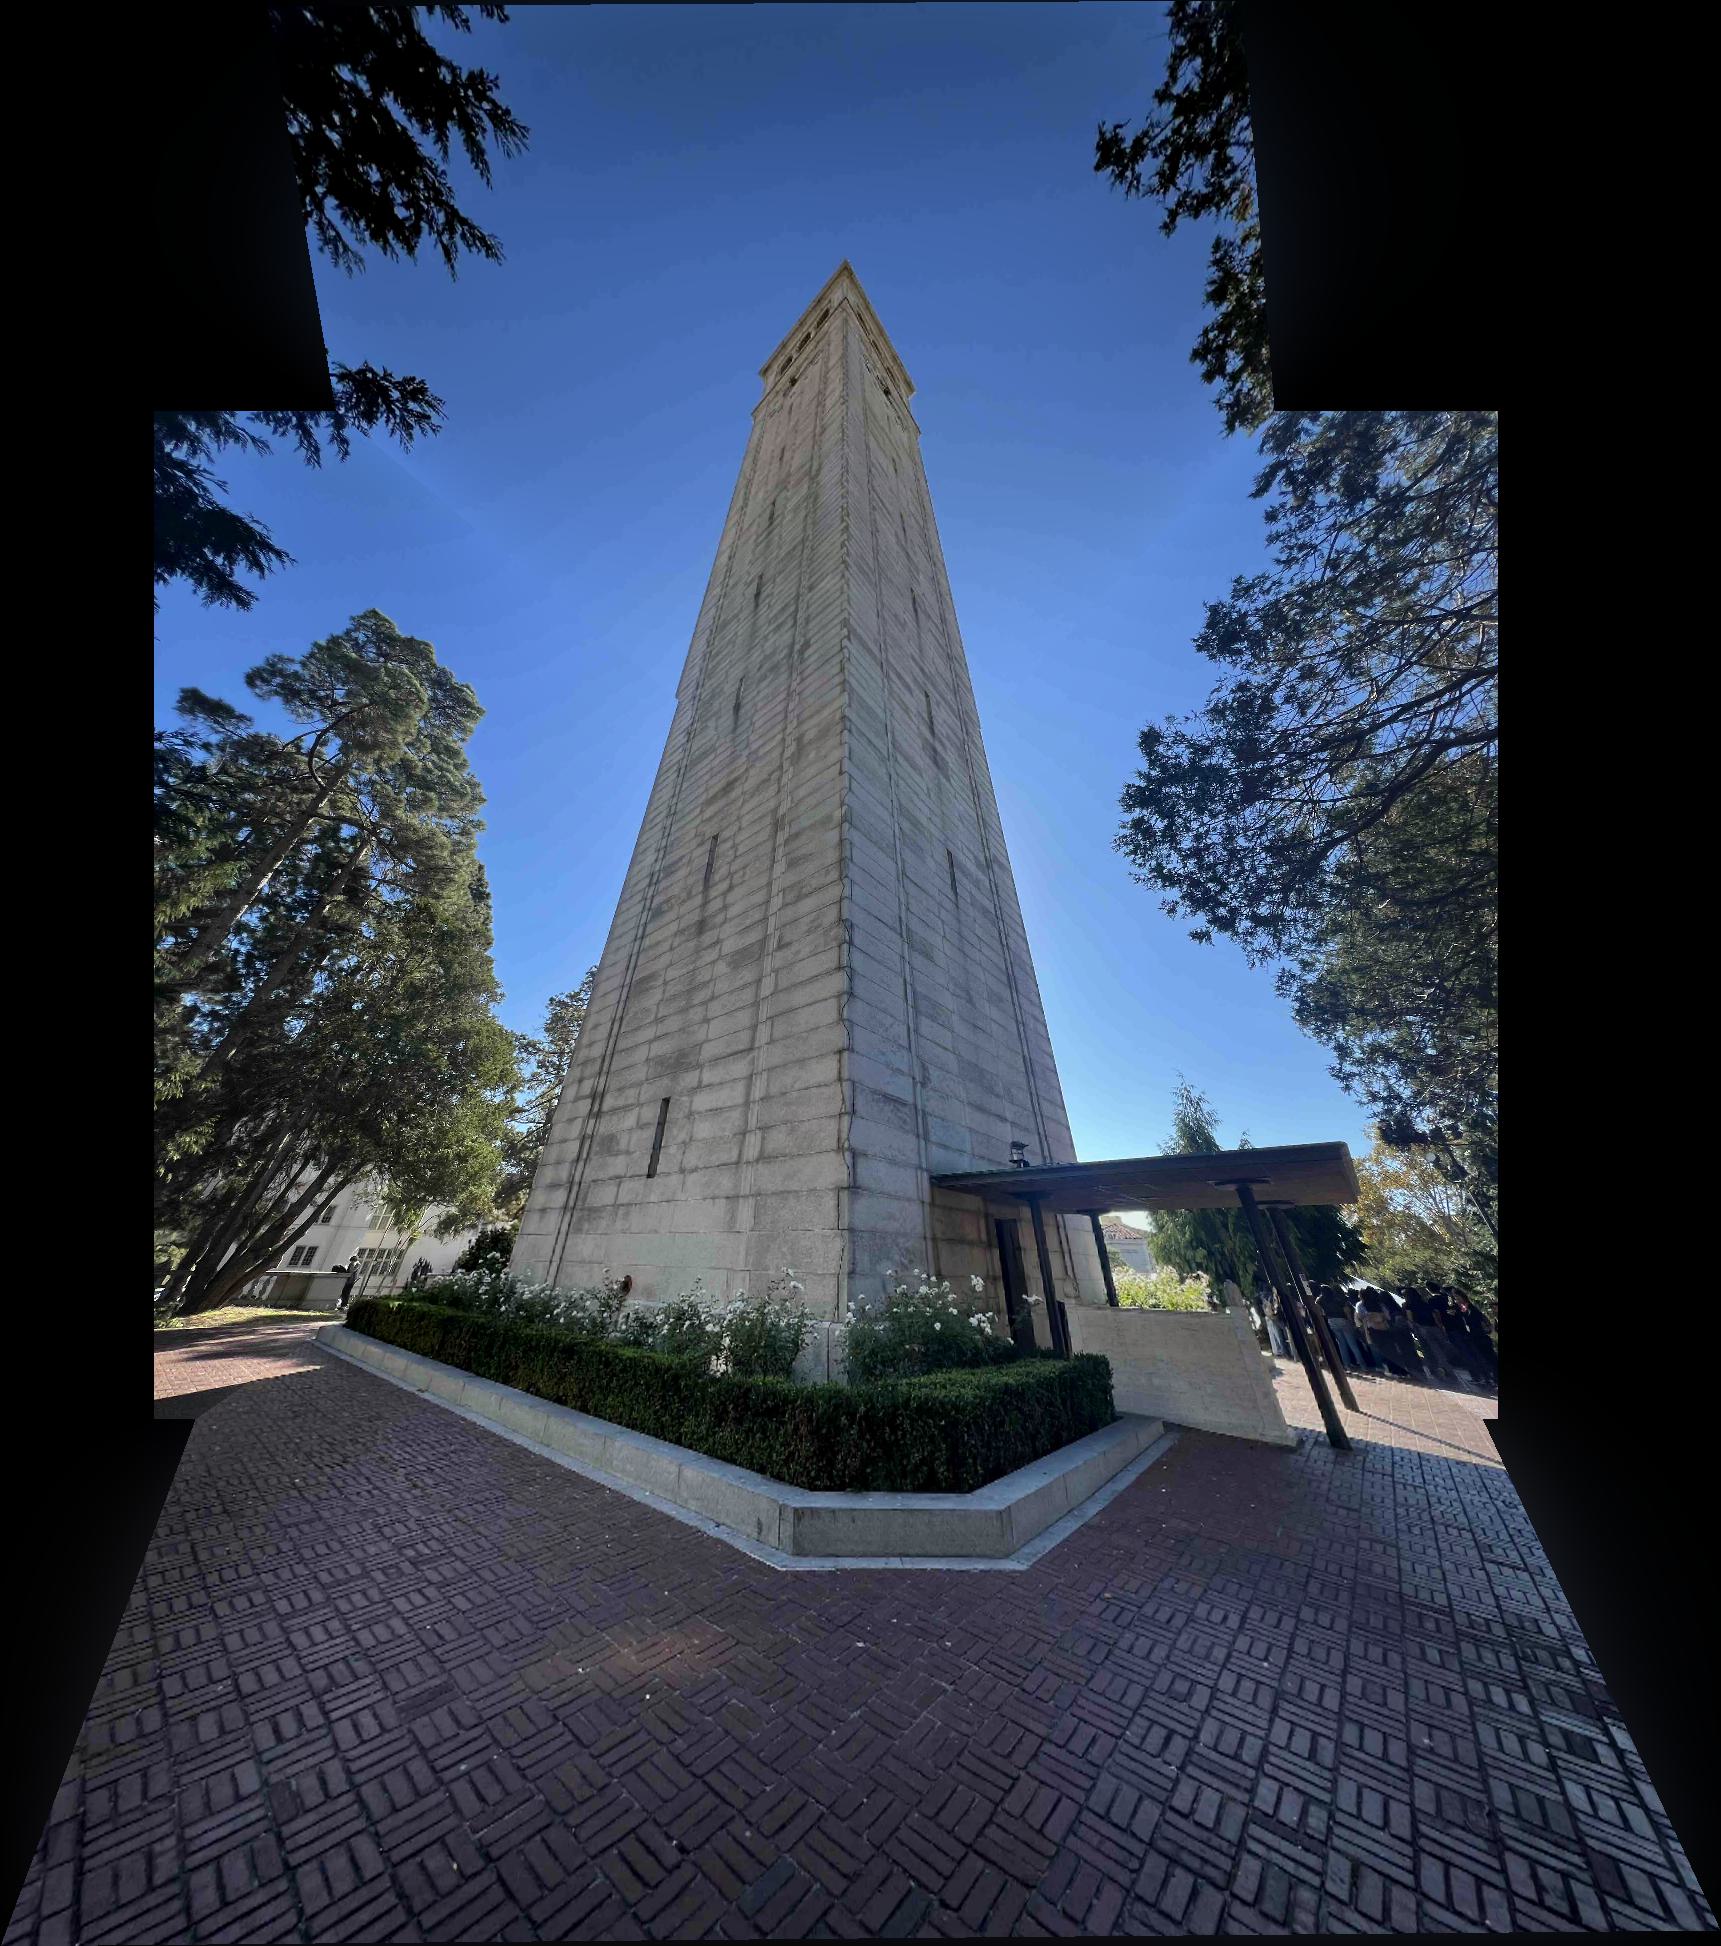
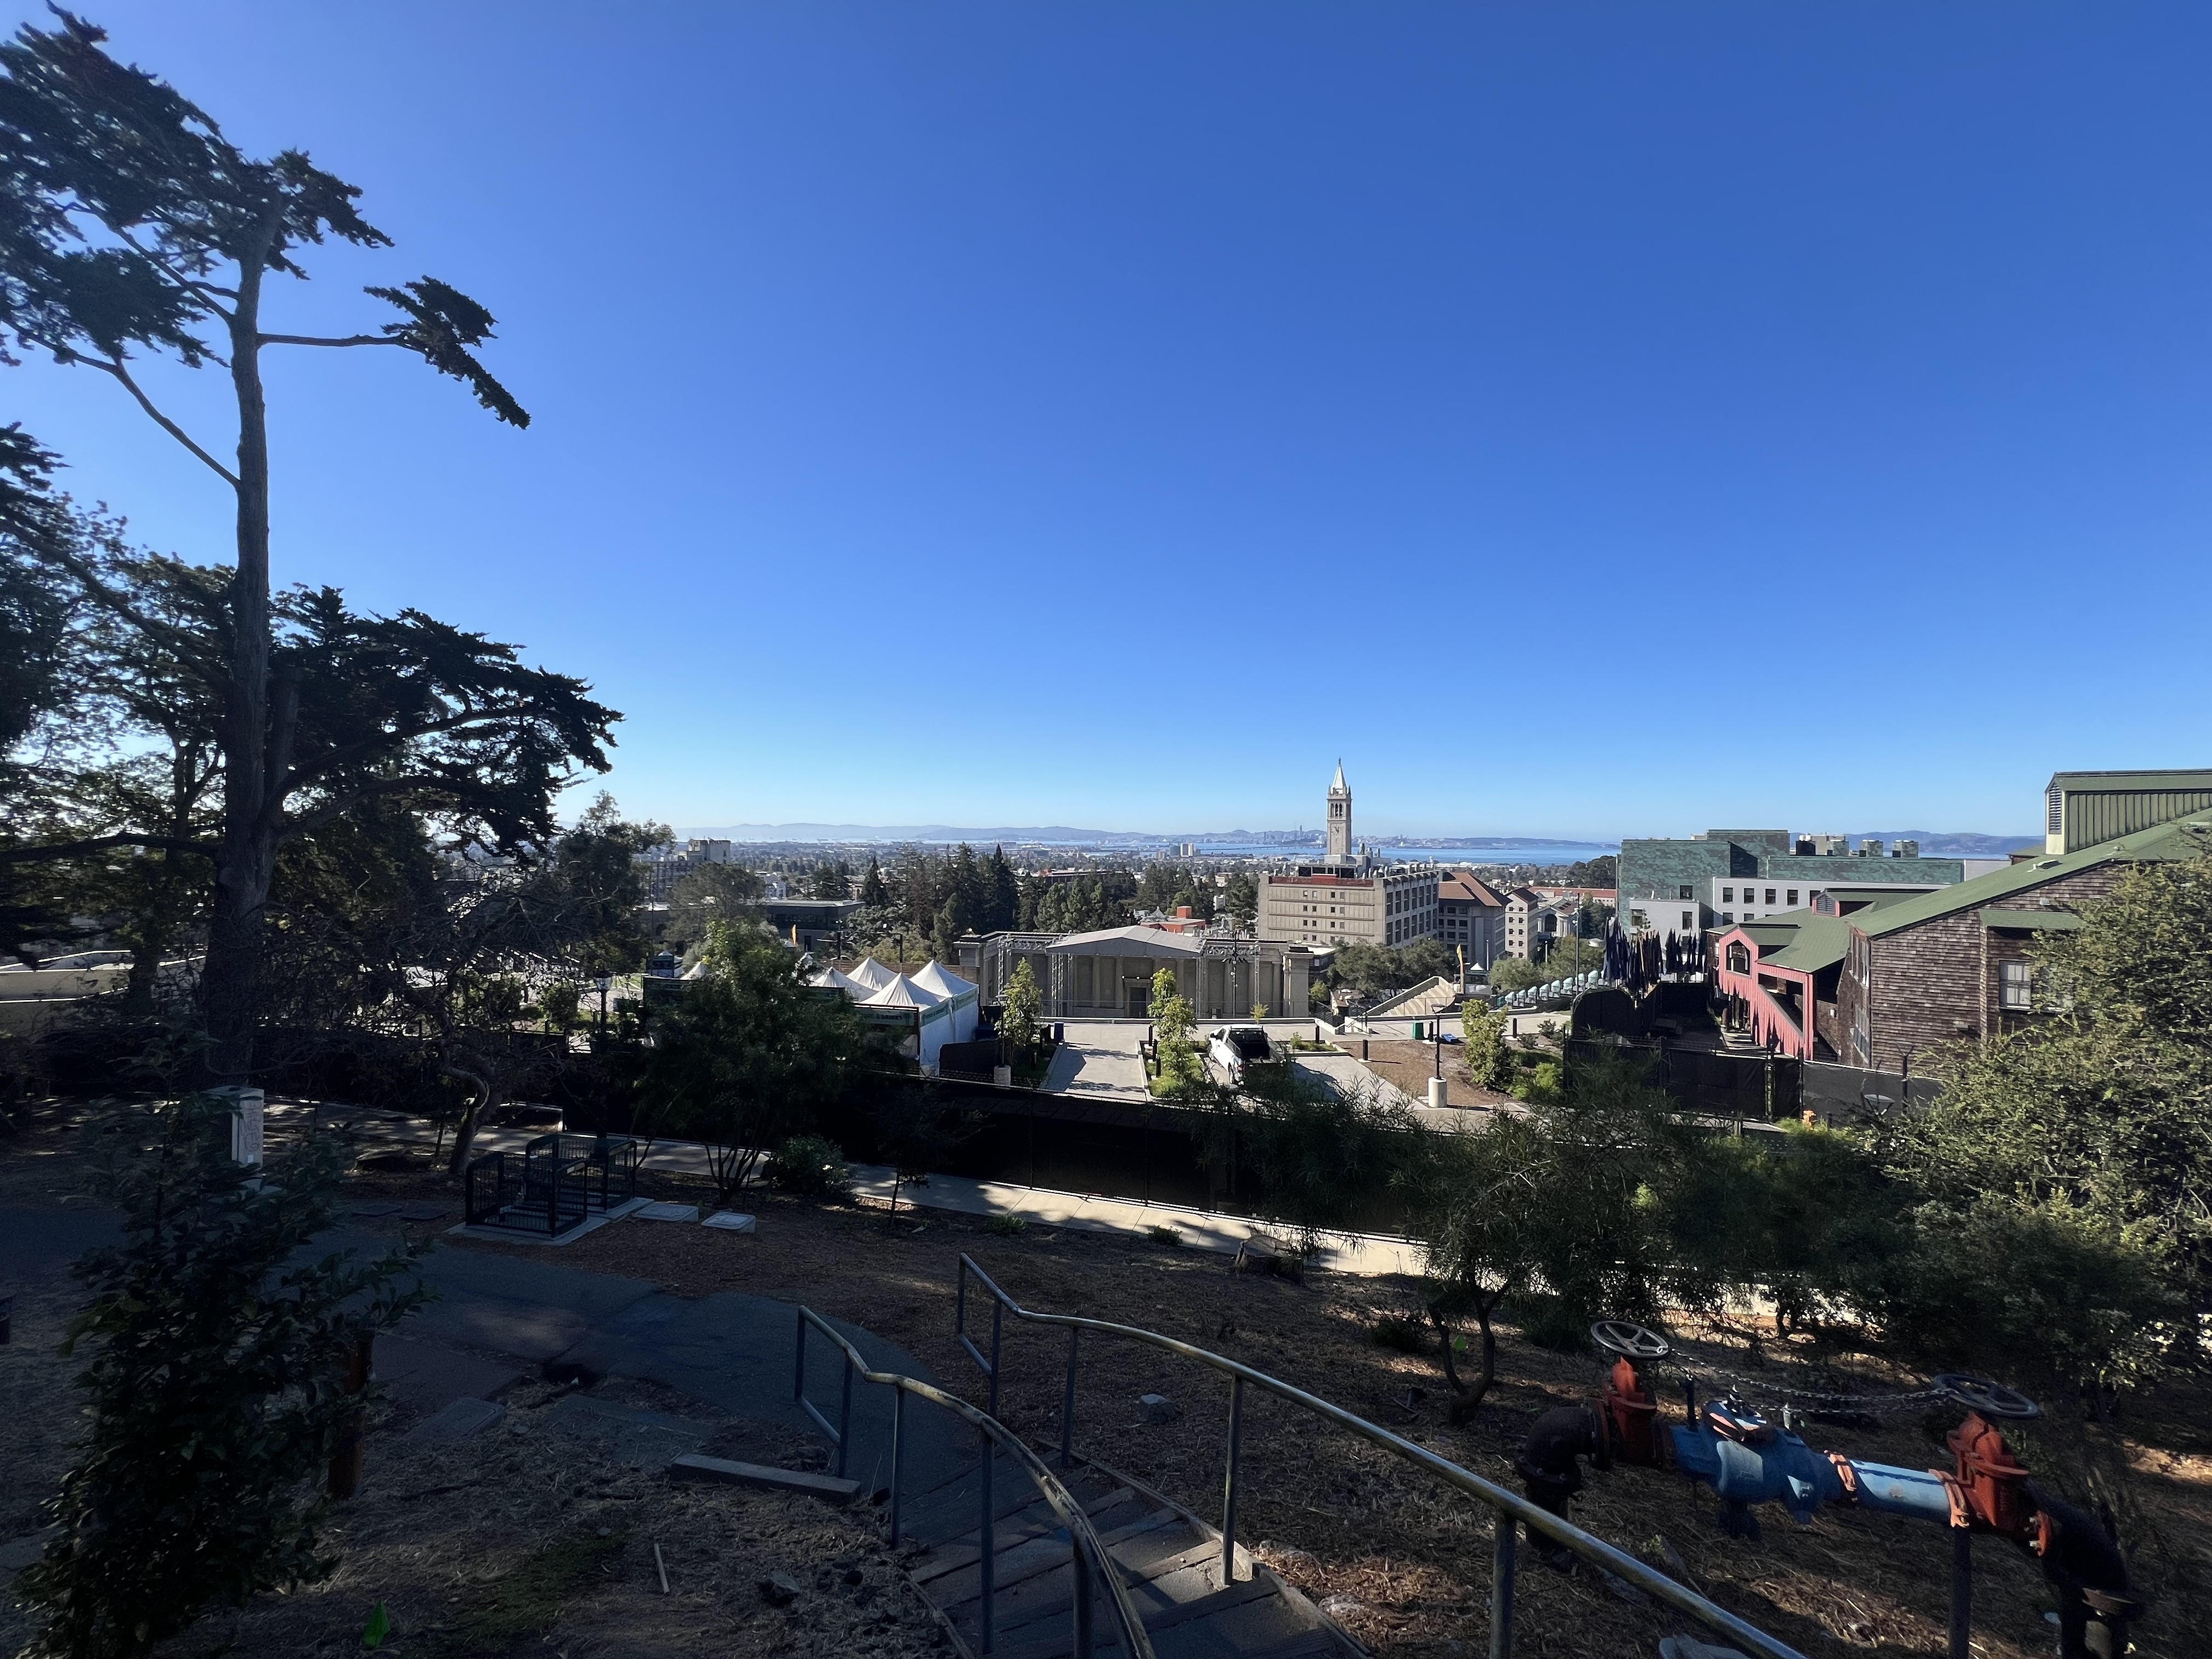
Original images:

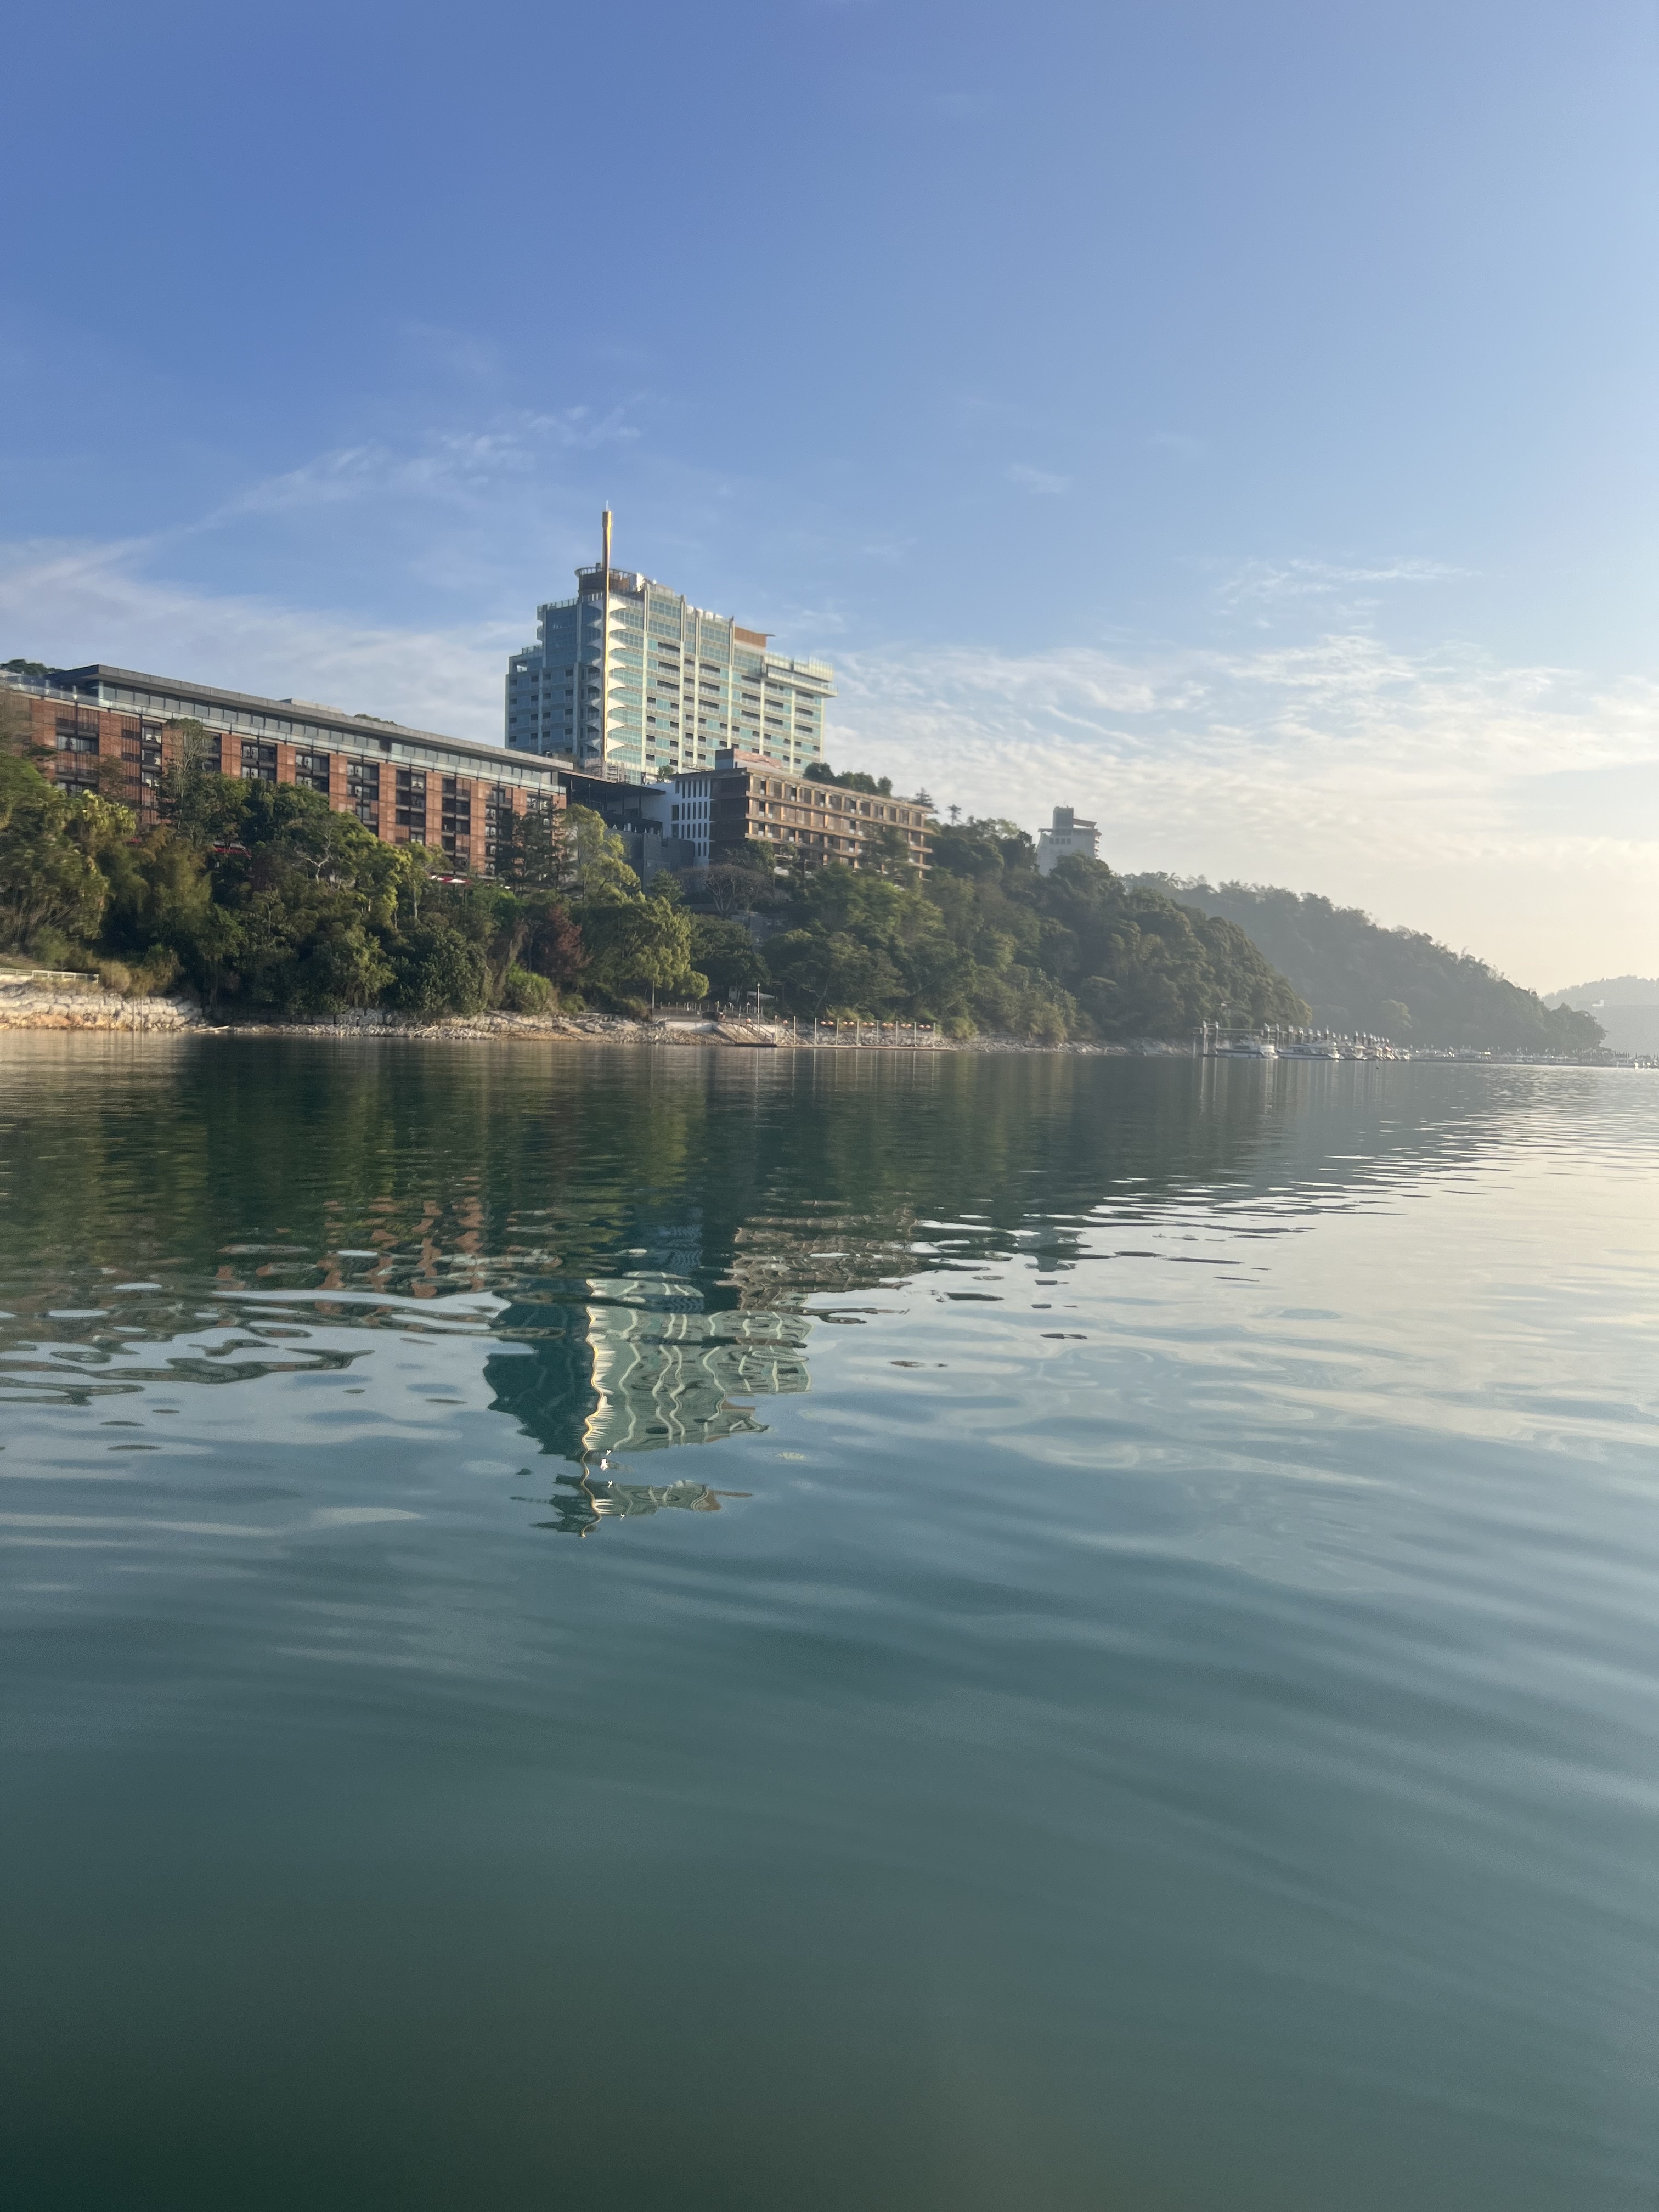
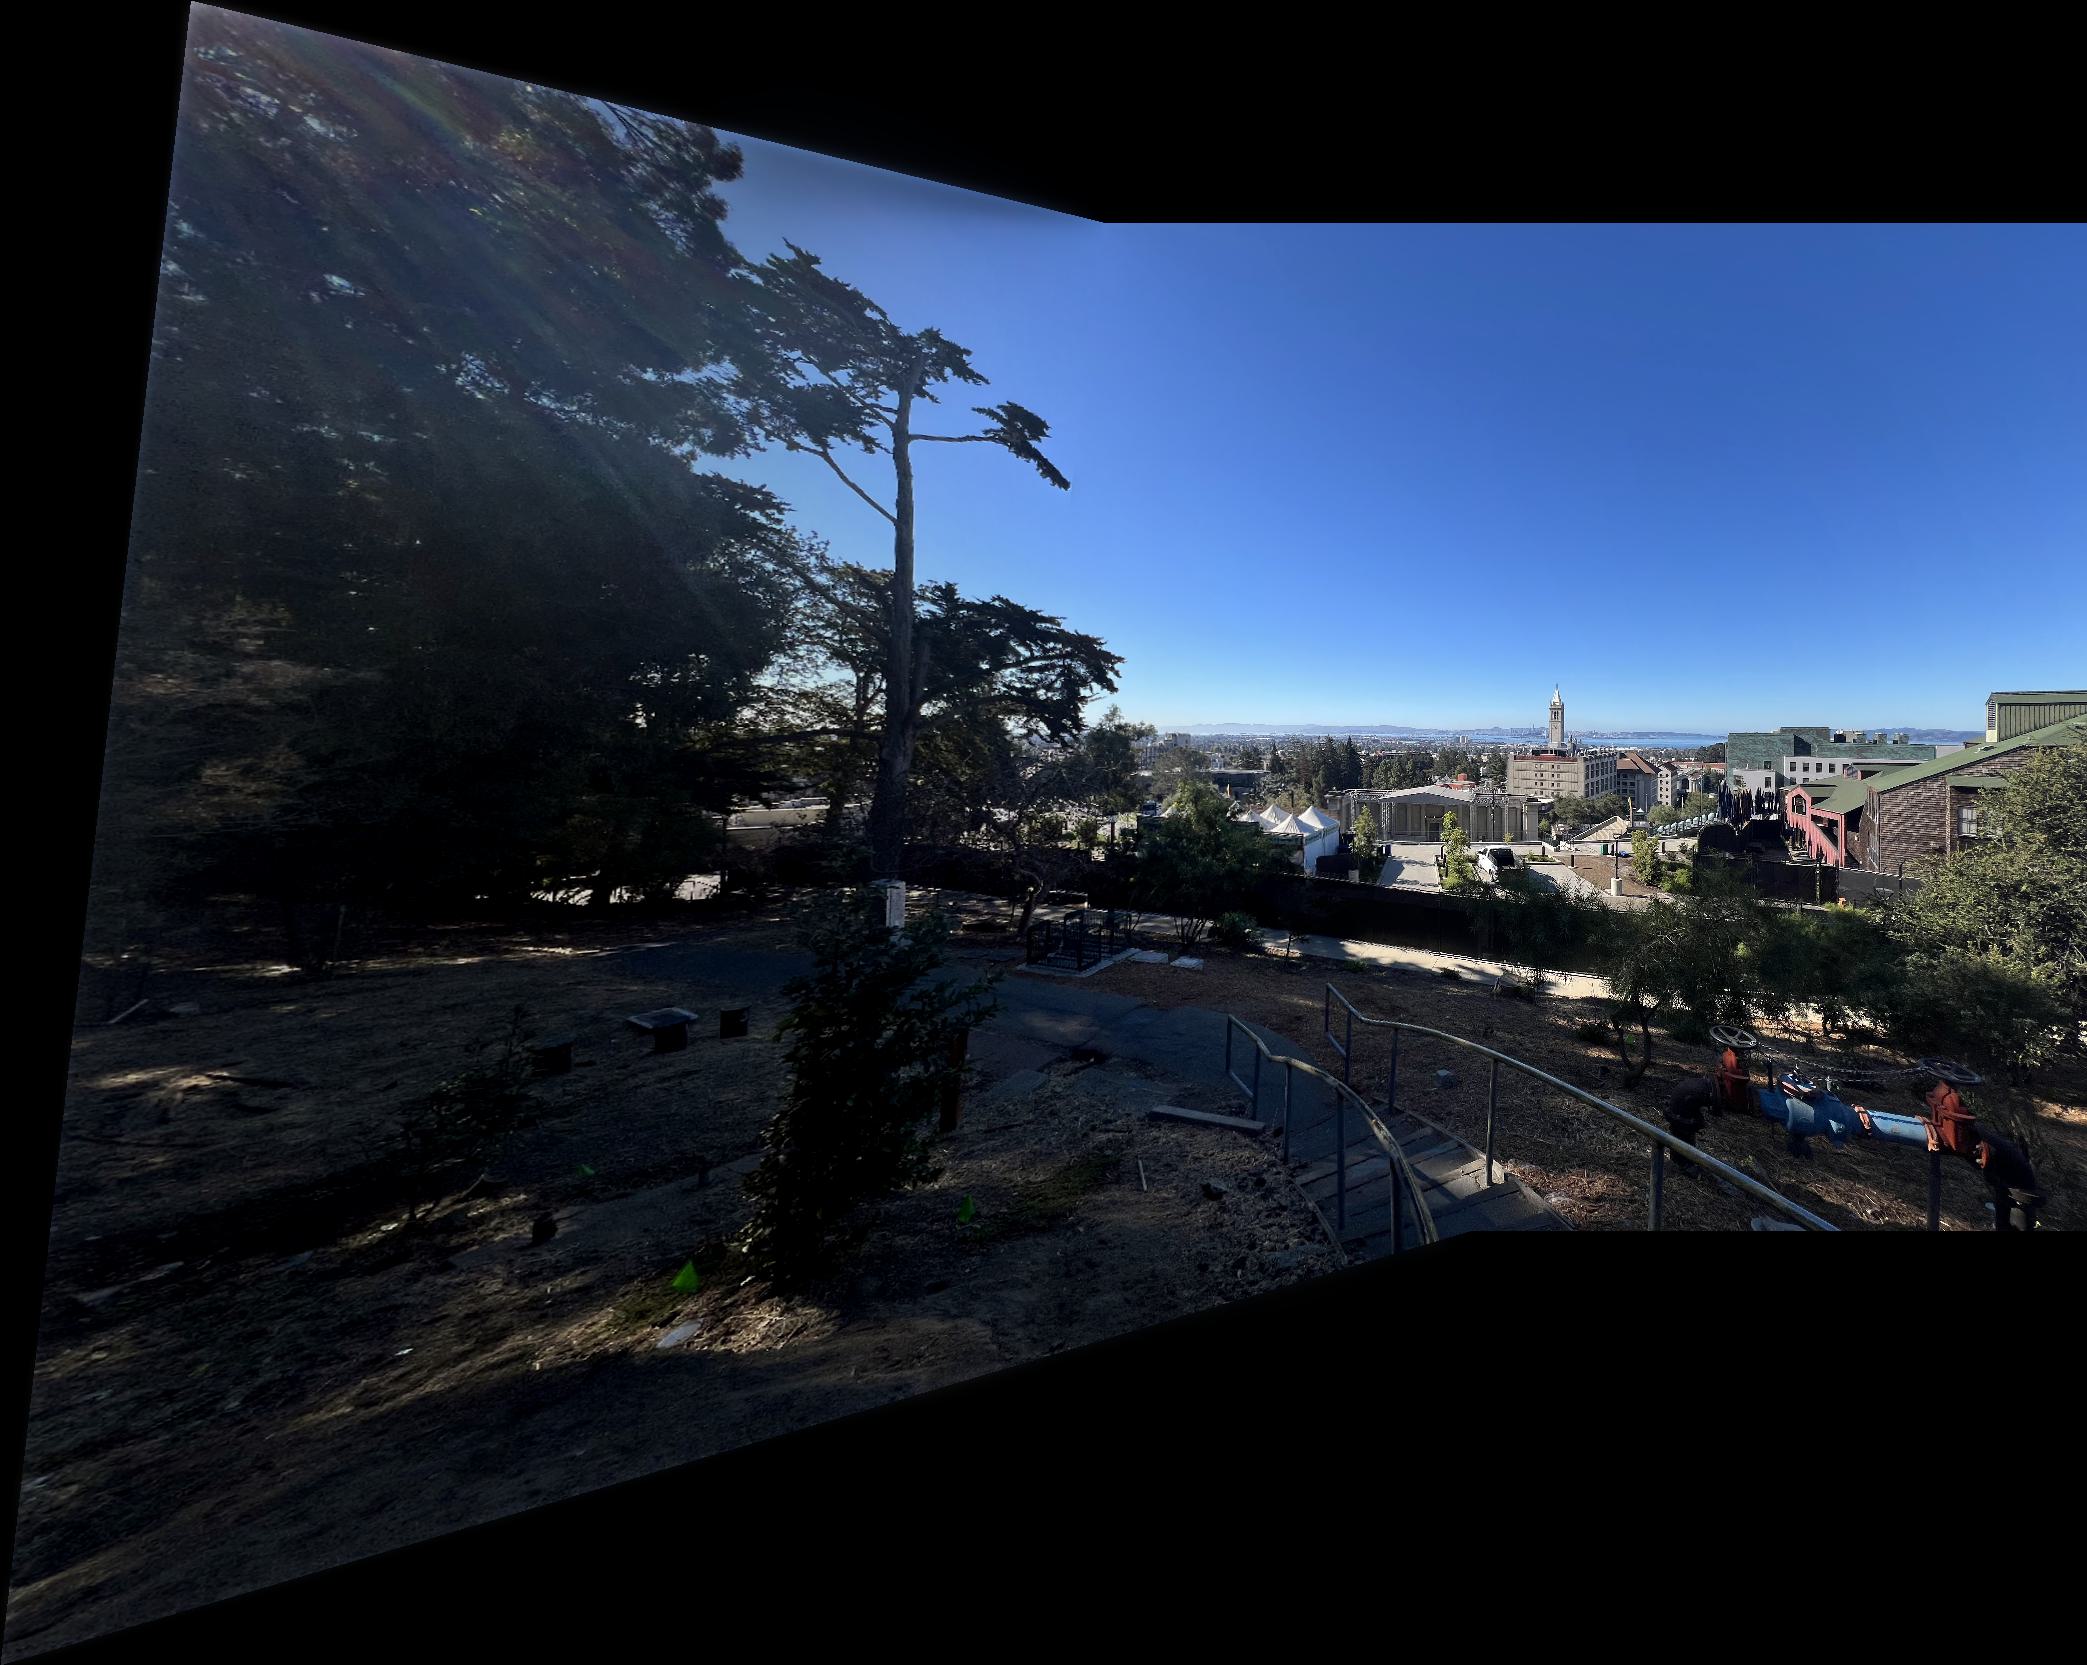
Mosaic:
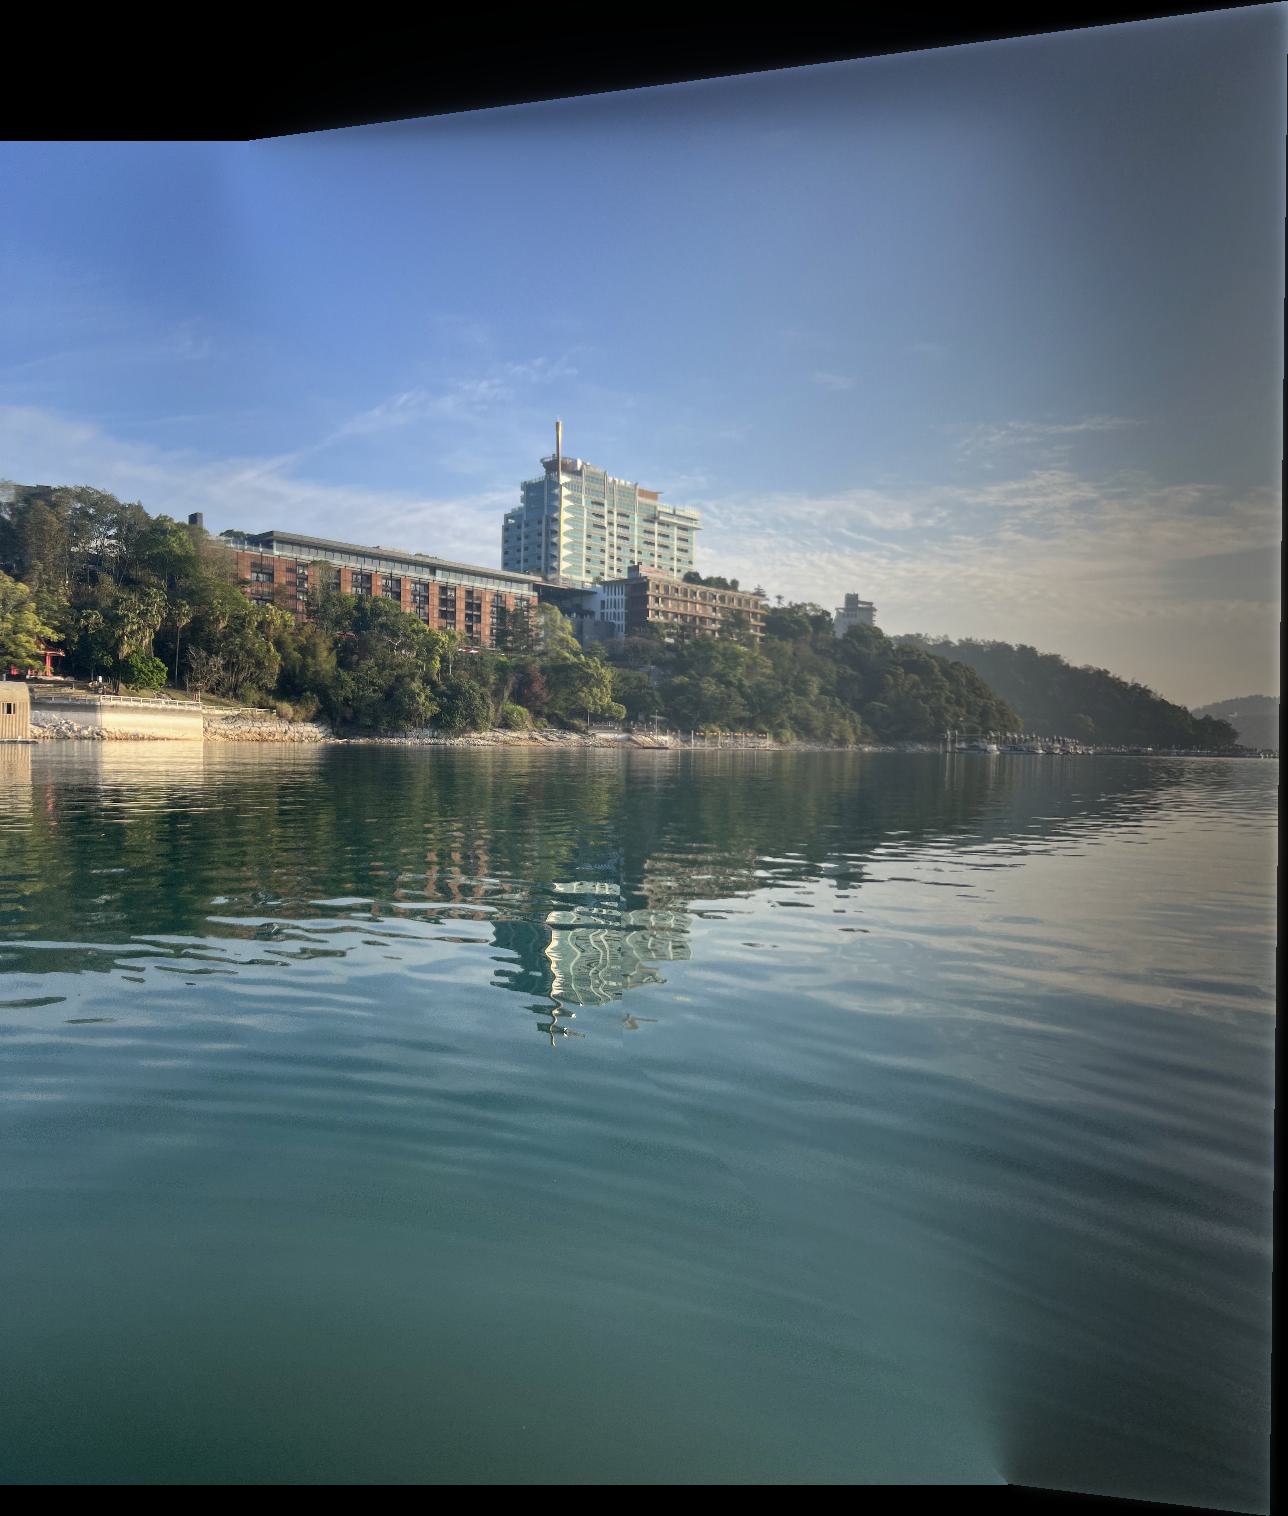
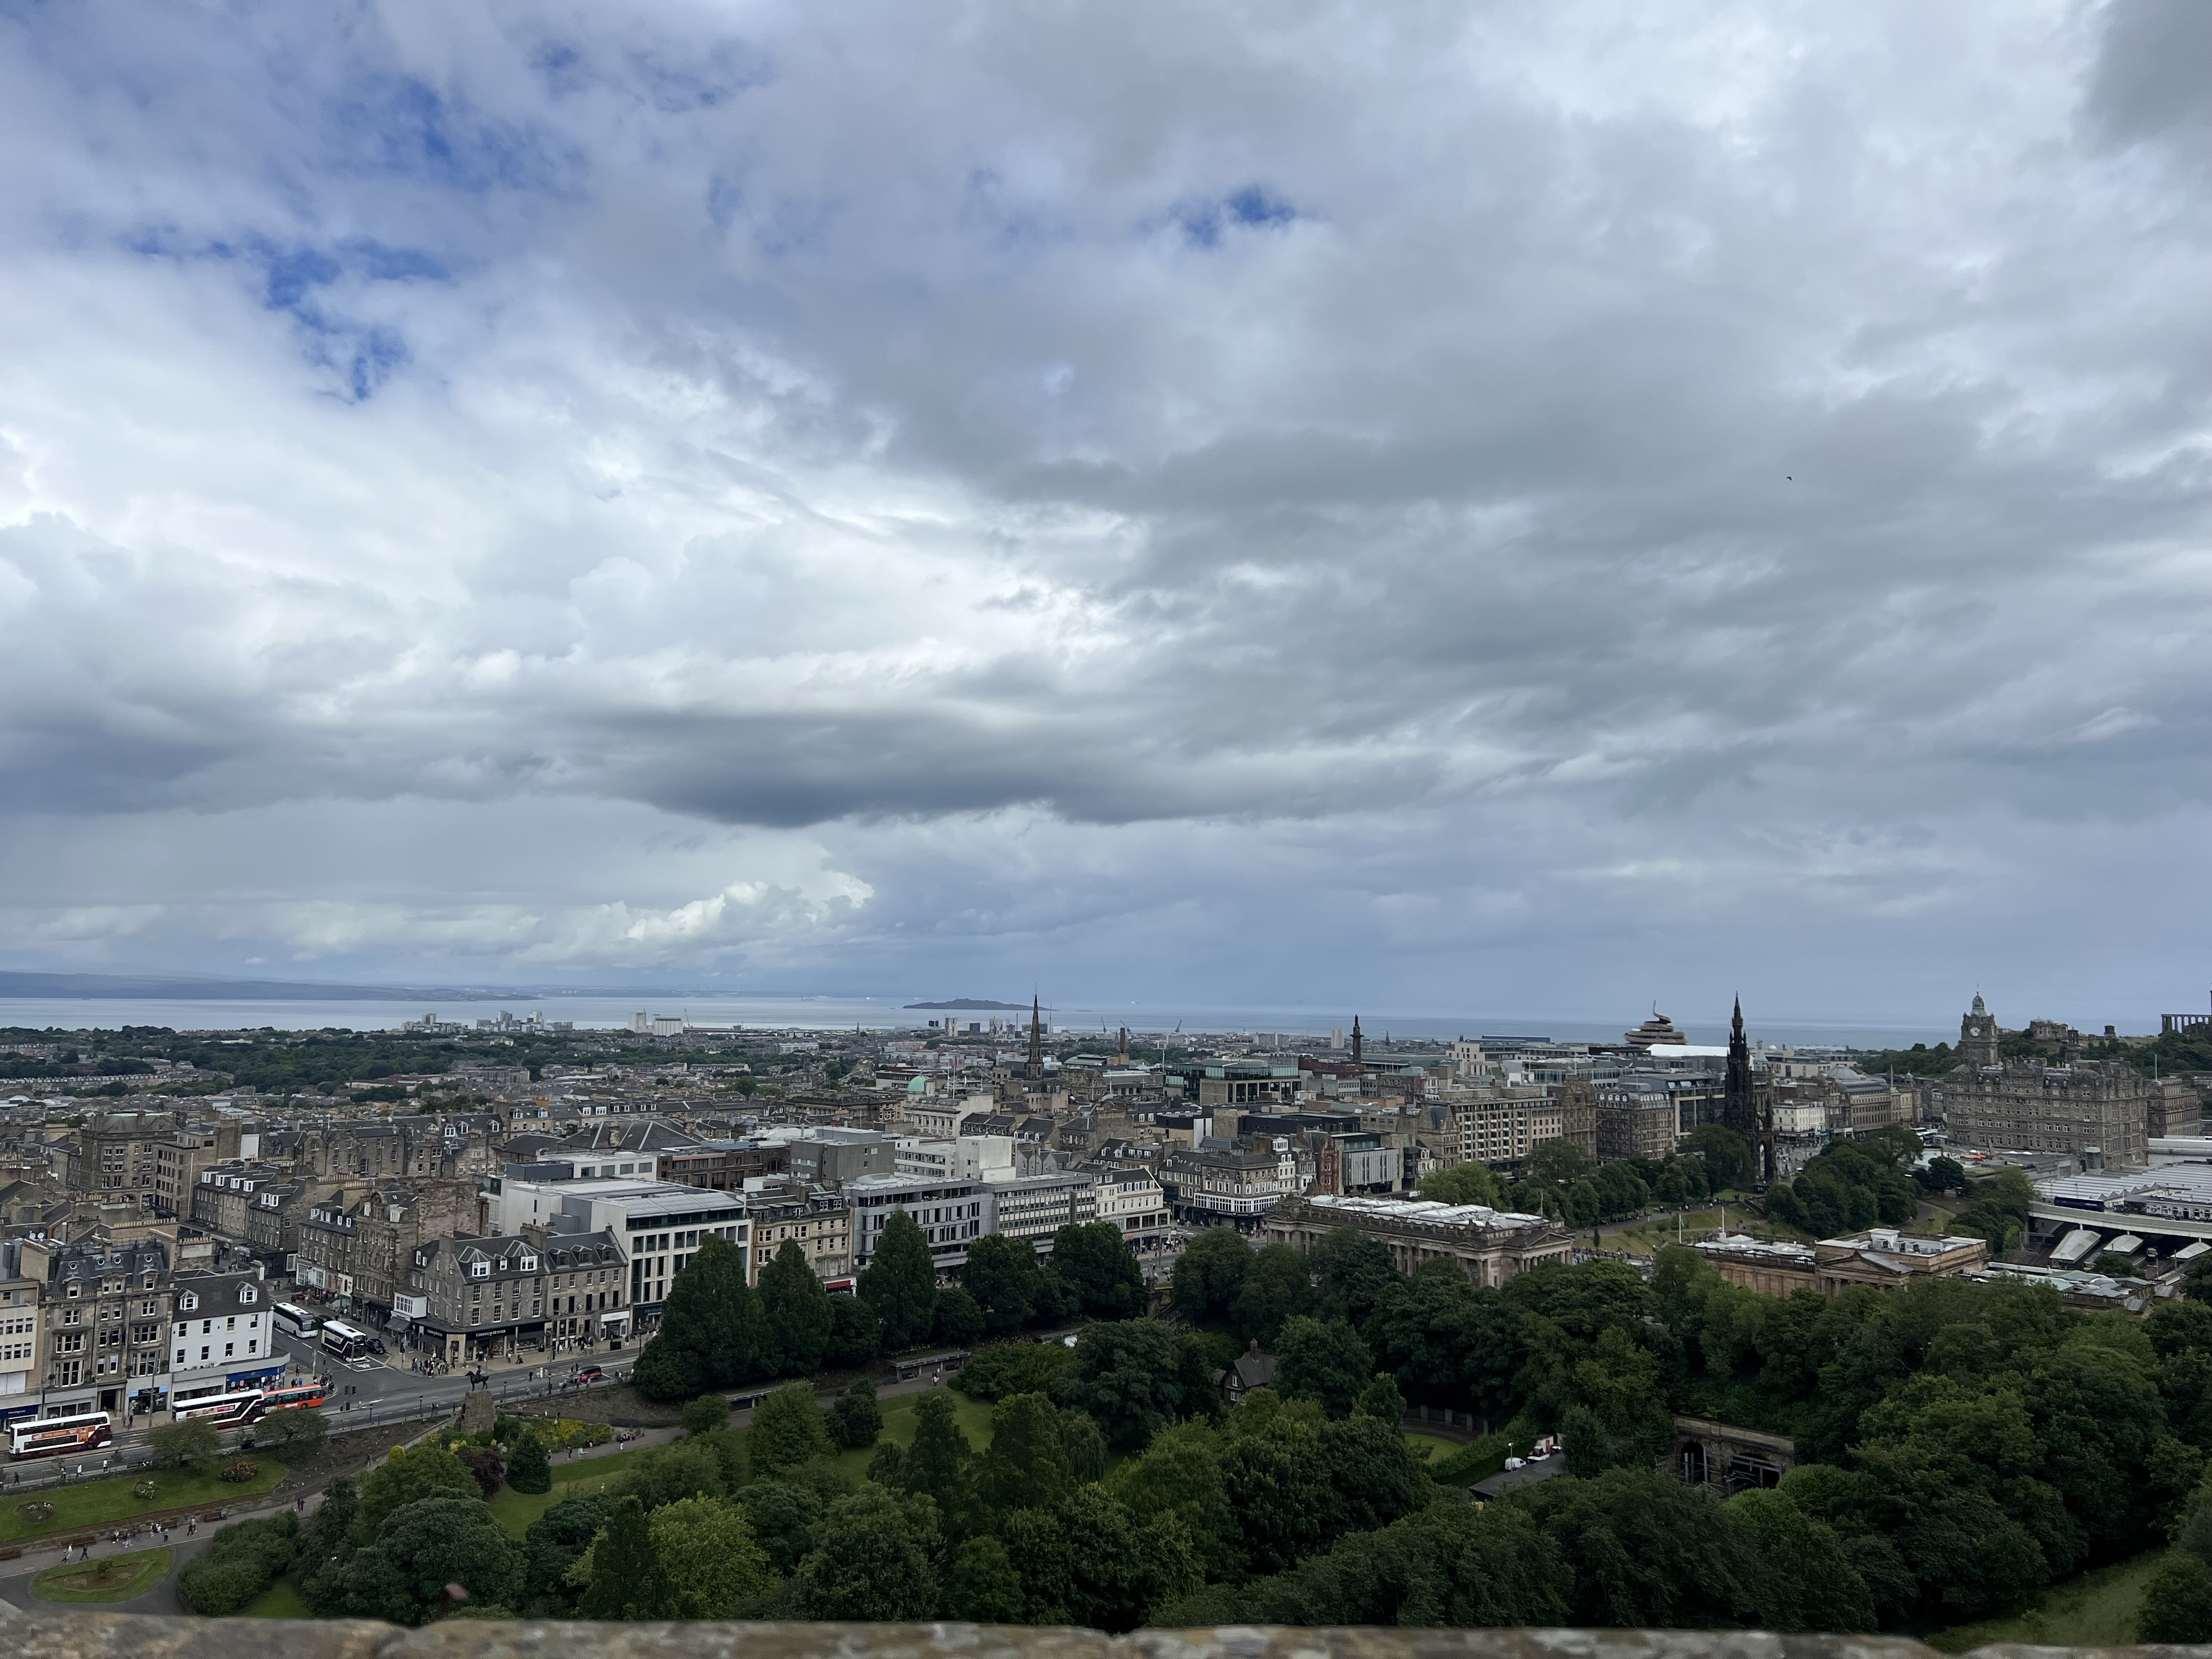
Original images:
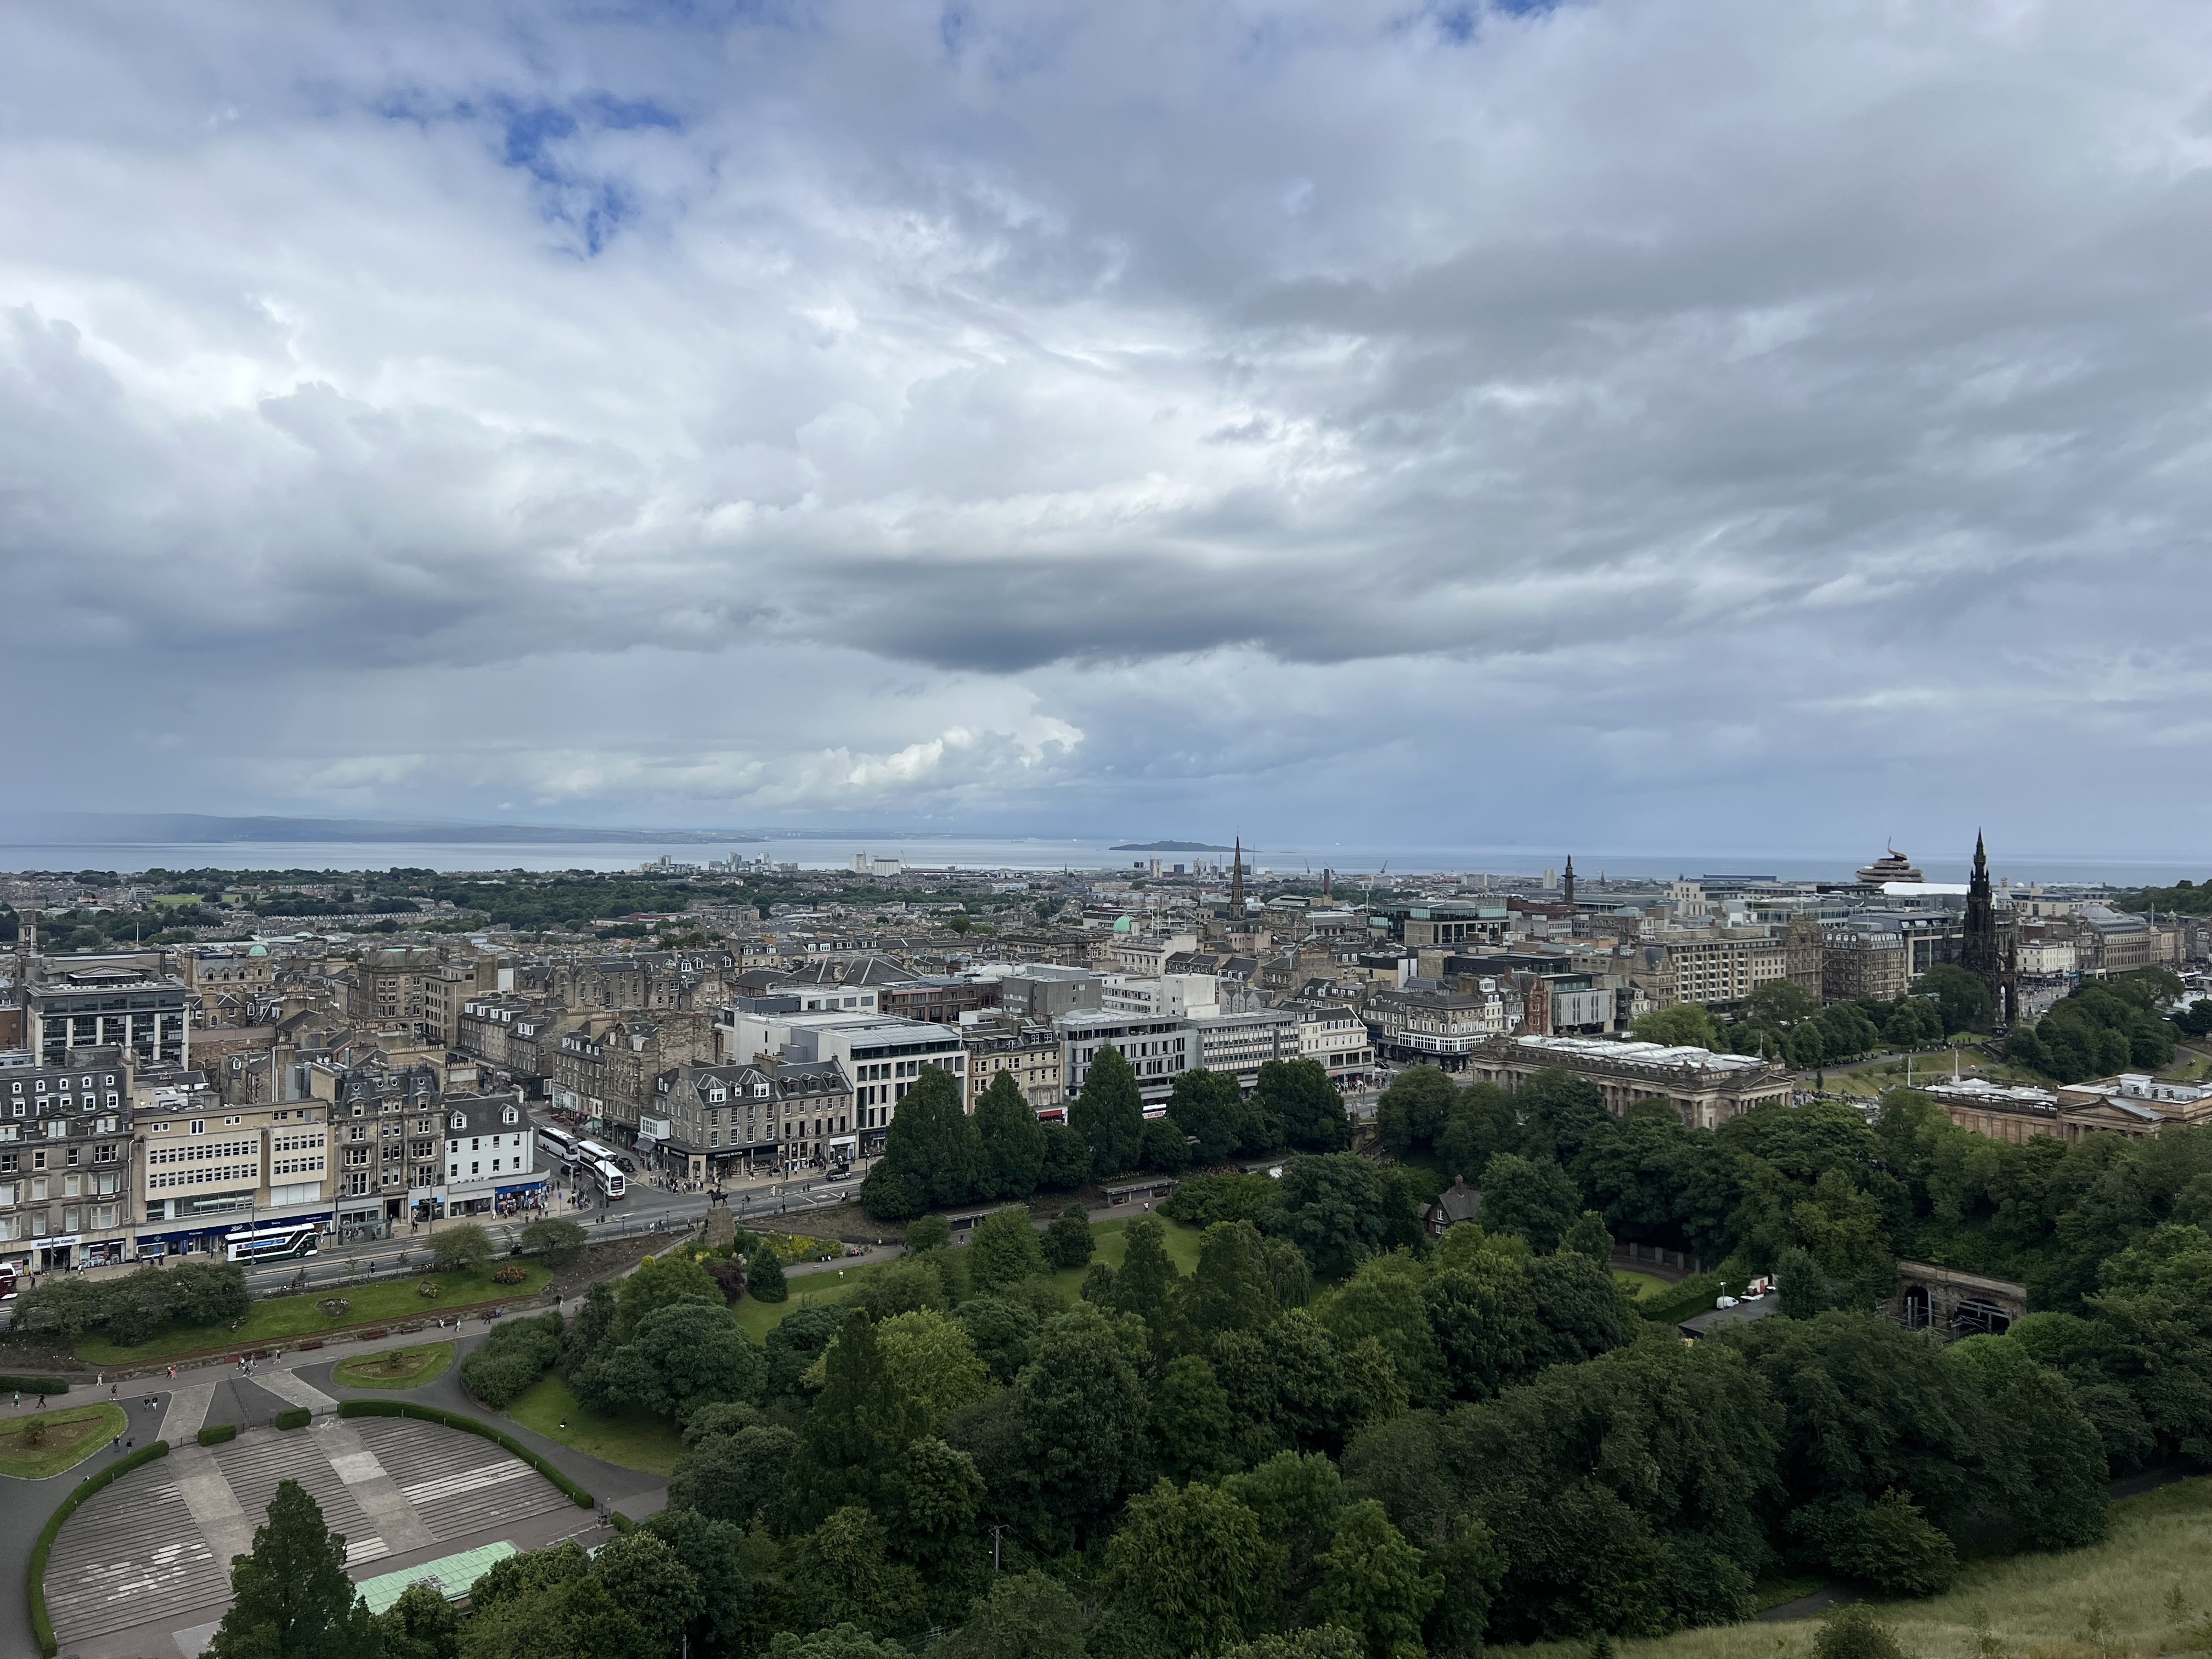
Mosaic:
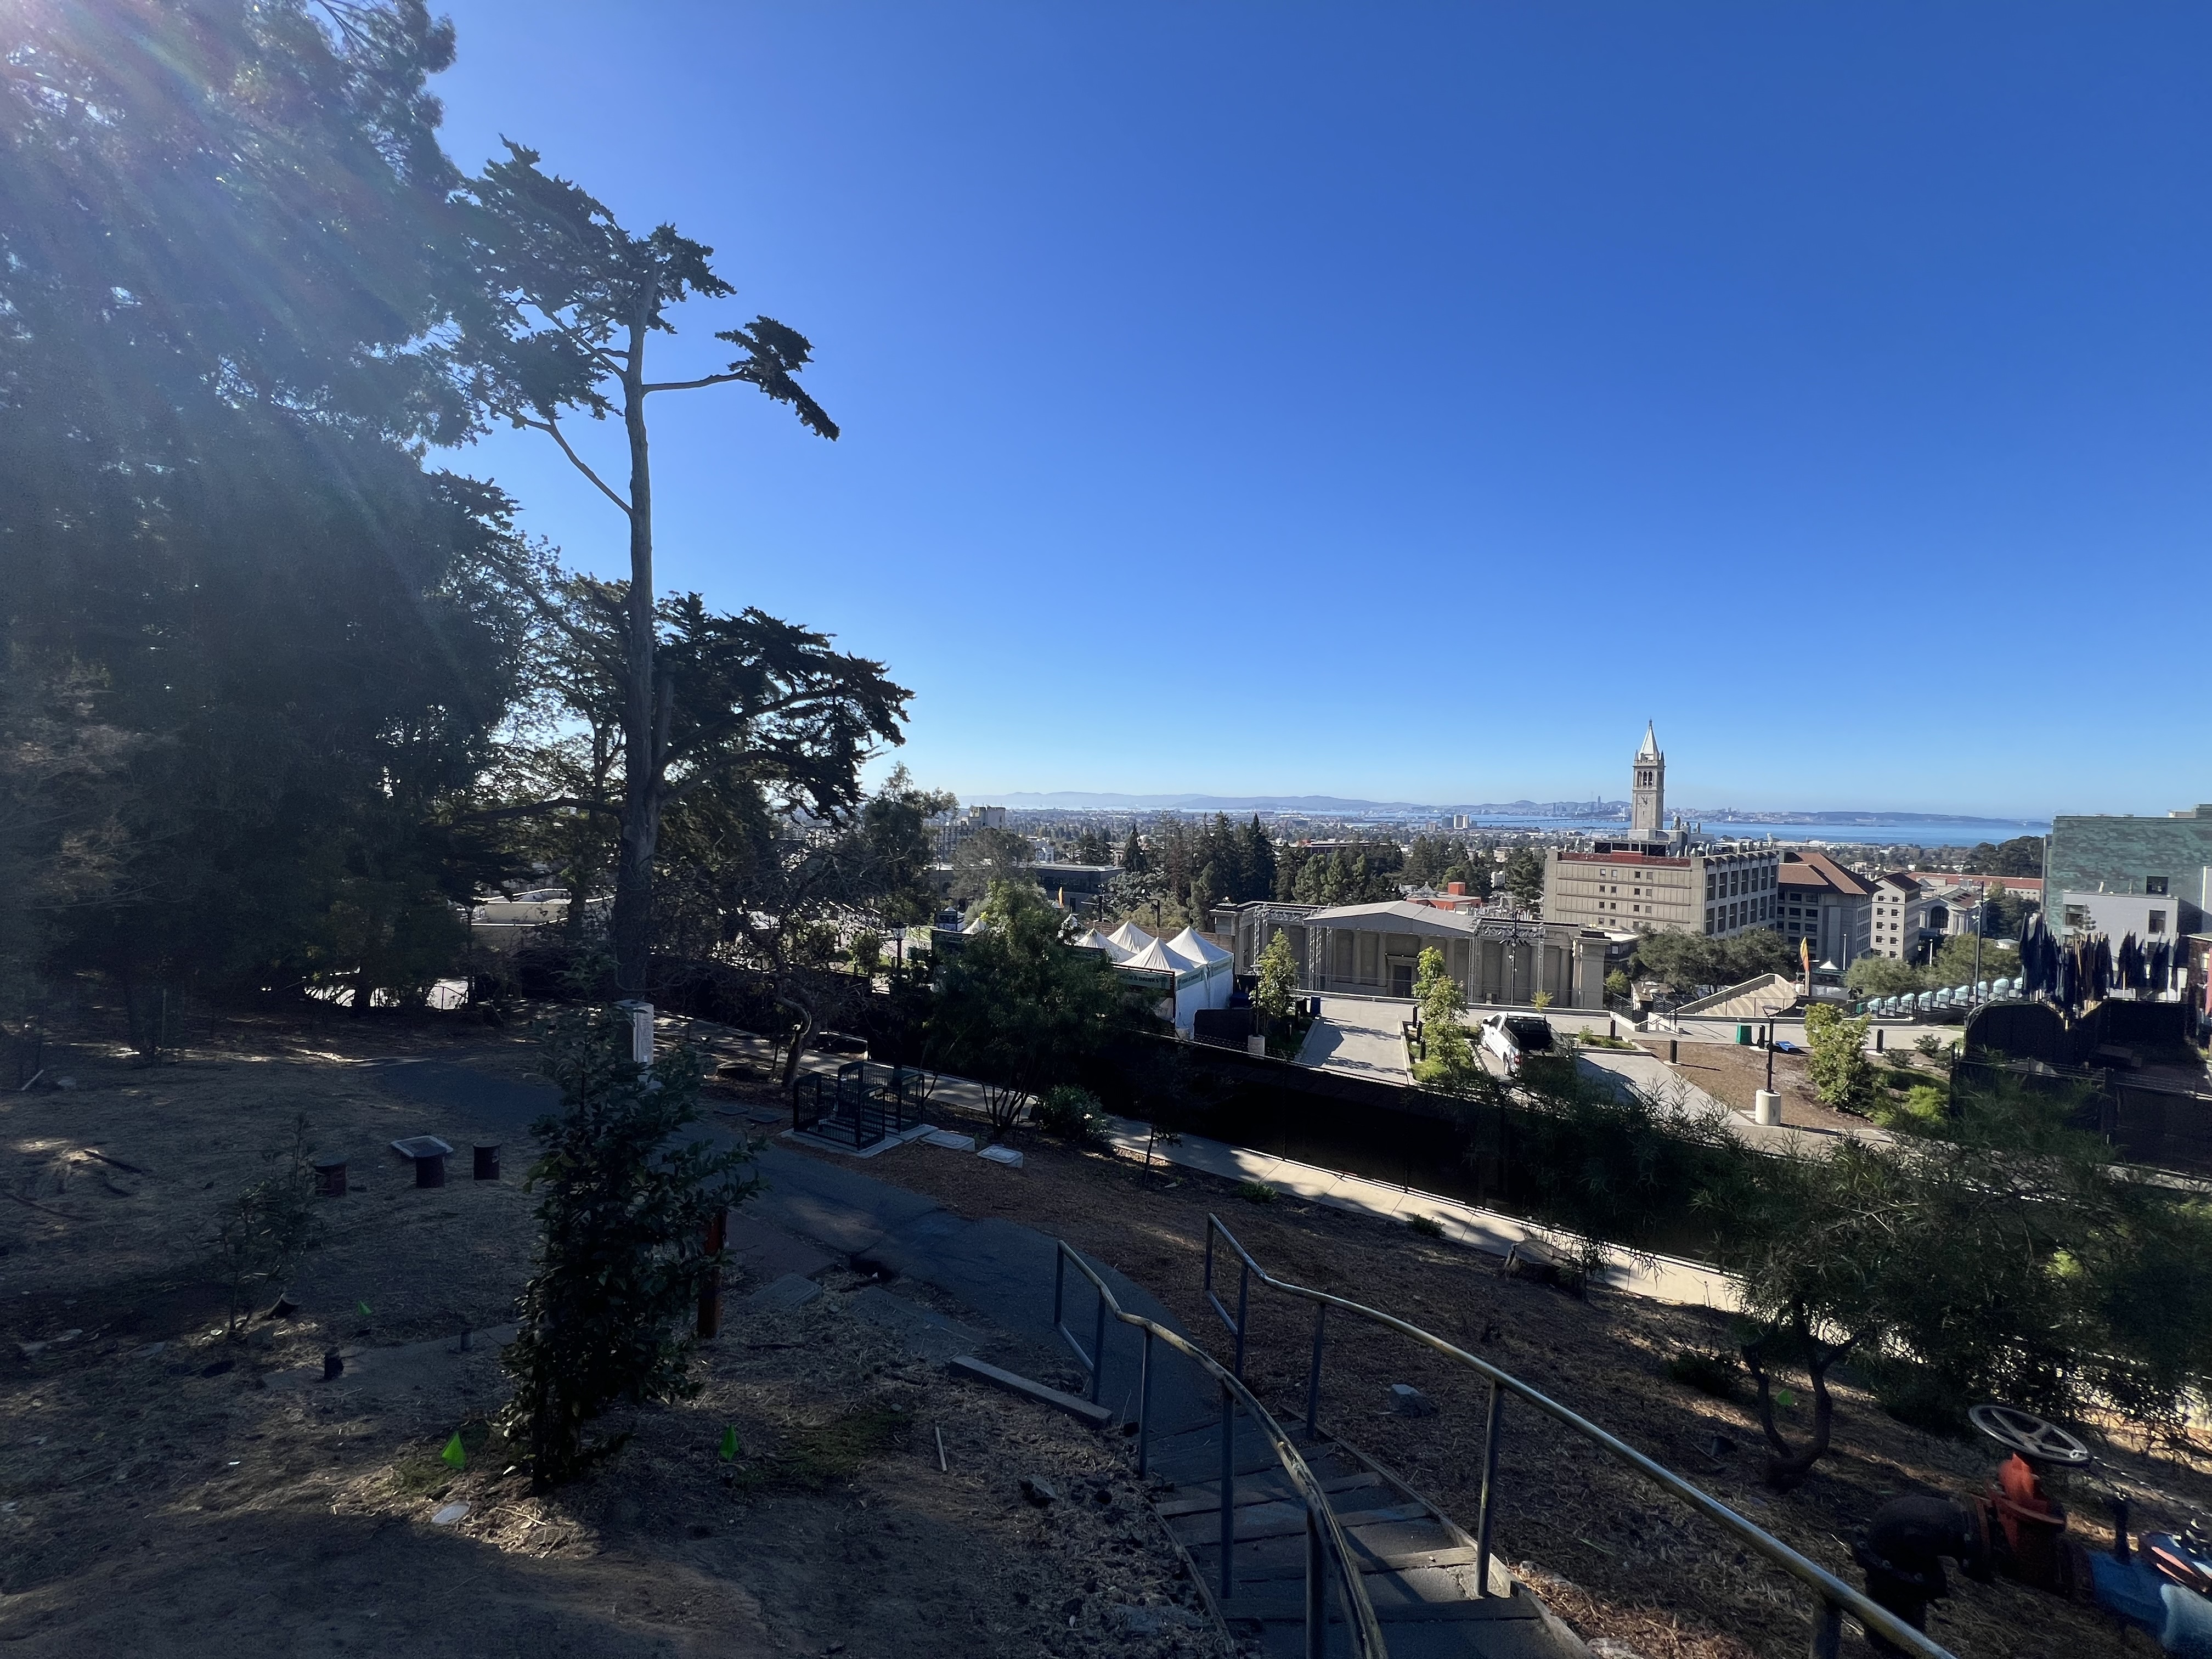
Original images:
Mosaic:
Conclusion
This project was engaging and gave strong intuition for perspective warping, blending, and autostitching.
My favorite part was rectification because the geometric effect was clear and worked reliably. The main challenge was mosaic quality when input viewpoints changed too much, causing stronger distortions and harder blending.
I also hit memory issues with large source images before resizing. Automatic feature matching was much less tedious than manual correspondence selection, though it depended heavily on choosing scenes with enough reliable texture for matching.